Photo Editing Tips for Better Albums by Pye Jirsa
If you were to describe the perfect photo album, you’d likely include the following attributes: Beautiful photos, meaningful moments, an attractively designed layout from cover to cover, and archival-quality prints and materials. While you can find printers to handle the last bit, it’s on you, the photographer, to cover those other details and put together an album worth printing.
One surefire way to create better photo albums is to focus on editing. From culling and retouching to designing spreads, how you edit your photos can make or break your photo album. In this article, we’re going to share six photo editing tips to help you edit with purpose and create better albums. Let’s get started!
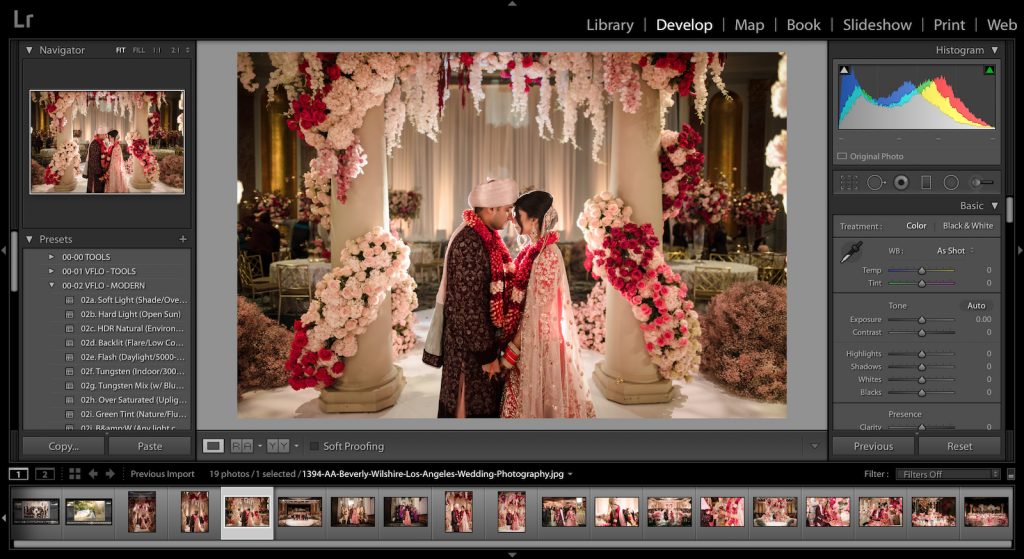
Photo Editing Tip #1: Cull Images with Storytelling in Mind
Photos by Lin & Jirsa Photography
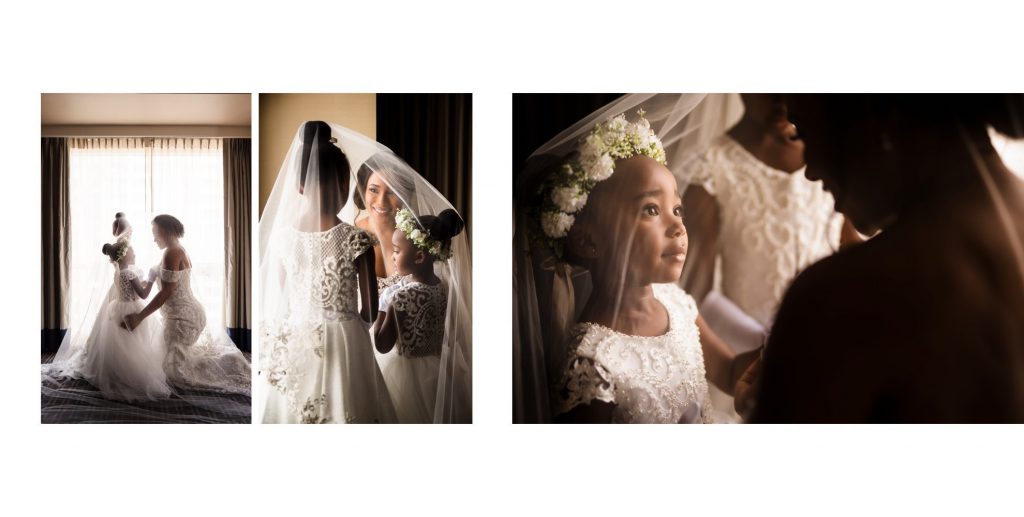
Watch almost any film or television show and you’ll find that they start with an establishing shot and work their way in to reveal a more detailed look at the subjects. Of course, you’ll have to shoot for the edit by capturing a variety of angels (wide, medium, and tight), but it’s important to cull for the story and envision your album layout as you select which photos you’re going to use.
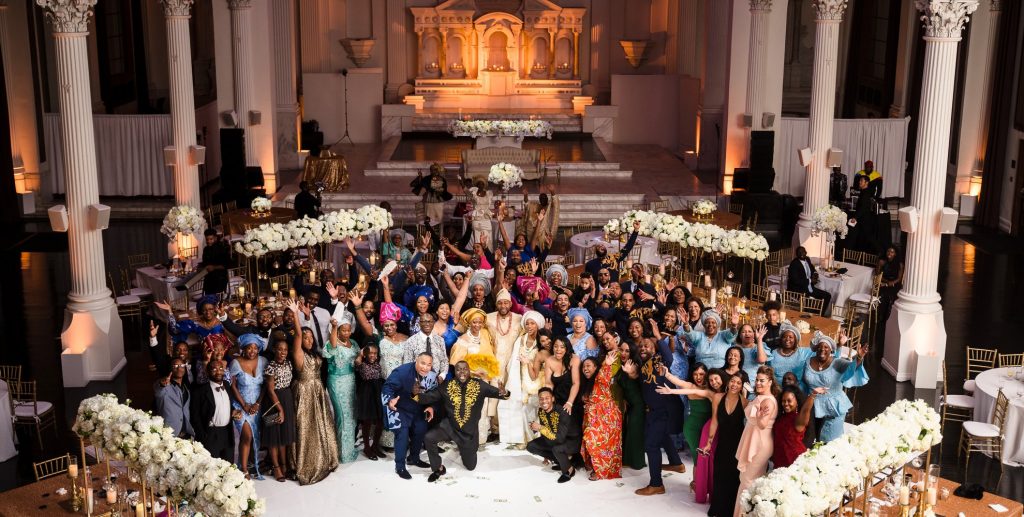 Photo by Lin & Jirsa Photography
It’s also important to remember that all stories should have a beginning, middle, and end, and so should your photo albums. Keep this structure in mind when culling images after a session. Establish the scene whenever you change location, include important activities and VIPs for the client, and resolve the story with images that represent the close of the session. In a wedding album, for example, we might expect to see an epic night shot or a group photo on the ballroom floor to wrap up the story.
Photo Editing Tip #2: Use the Highlight Alert (Clipping Mask) in Lightroom
Take advantage of tools like the Highlight Alert in Lightroom to ensure that any whites you’ve intended to blow are truly blown out. Sometimes, your screen can play tricks on you and what looks pure white may still have a hint of color. The same holds true for shadows and blacks in the scene. You may need to lift the shadows or blacks to recover details if they’ve been lost, and the highlight alert is the tool to use to know for sure.
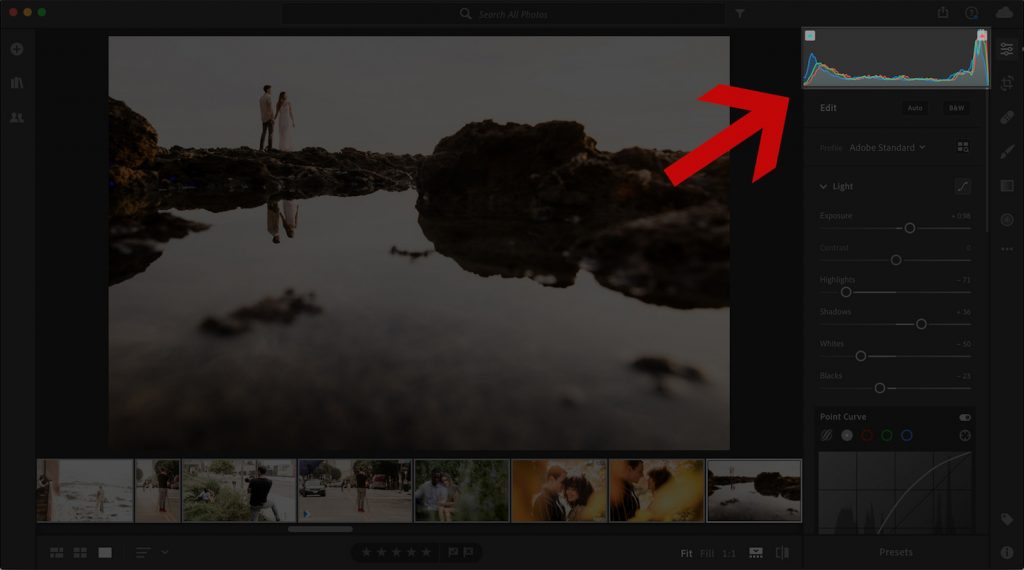
In order to use the Clipping Mask in Lightroom, simply press “J” and look at the histogram to see if the indicators are lit up as illustrated in the image above. You can also click on the triangles over the histogram to activate the highlight warning. You should be able to see the clipping mask over your image where highlights or shadows are clipped (see the image below).
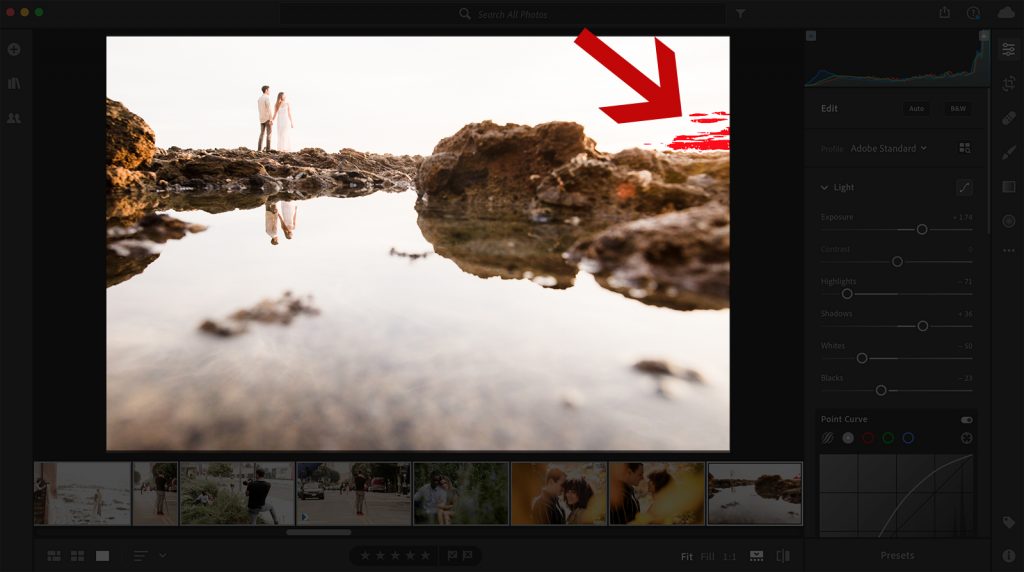
Photo Editing Tip #3: Use Images From the Same Lighting Condition on Each Spread
Unless you’re purposely trying to juxtapose images that don’t go together for effect, we recommend selecting images that are cohesive in look and color. In other words, on a single spread, decide whether the images are going to look light and airy, or perhaps dark and dramatic. Placing light and airy images on the same spread as an image that features dramatic flash may isolate the different sets of images and disrupt the story. The contrasting editing style creates too much of a jump between how each image looks.
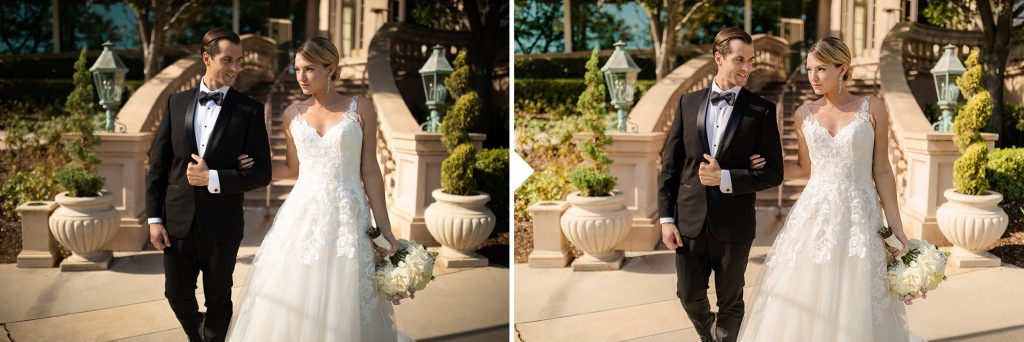
Before and after edited with one click using Visual Flow > Modern Pack > Hard Light
A great way to ensure your spreads are cohesive in look and color is to post-process your images with consistency, which you can easily do using a preset system. Visual Flow Presets, for example, have been designed based on lighting conditions and offer a one-click solution to quickly dial in a look. Simply edit one photo and then utilize batch processing to apply your adjustments to all of the images shot under similar lighting conditions. You can learn more about batch processing and other Lightroom tips from the Visual Flow team here.
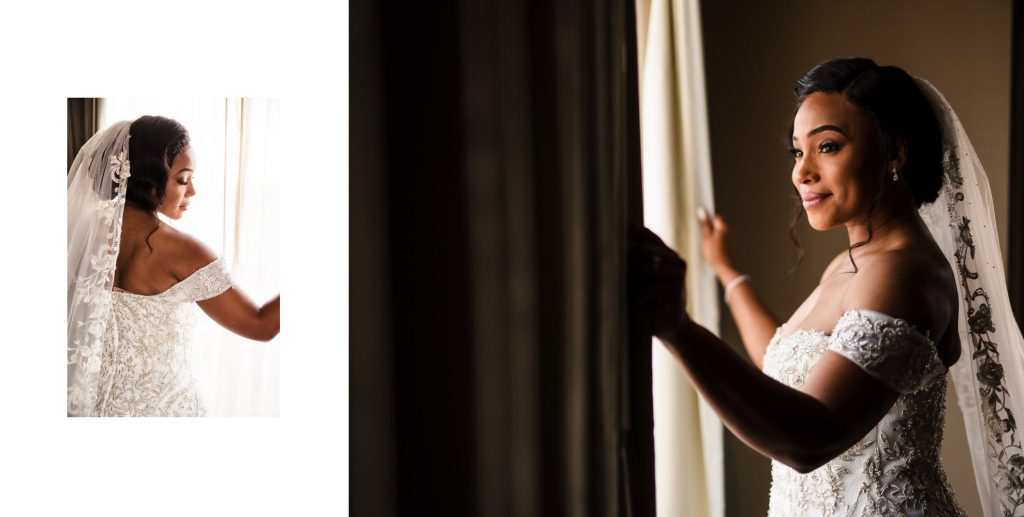
Photo Editing Tip #4: Never Mix Post-Production Styles
Keep your design top of mind when editing, and be sure to not mix post-production styles. In other words, keep your color images on separate spreads from your black and white images. If you have an image that looks much better in black and white, then be sure to edit other images that might share a spread with it in the same way. Of course, you can always fill an entire spread with a single image if the photo lends itself to the occasion.
Photo Editing Tip #5: Keyword the Images for Quick Sorting in Fundy Designer
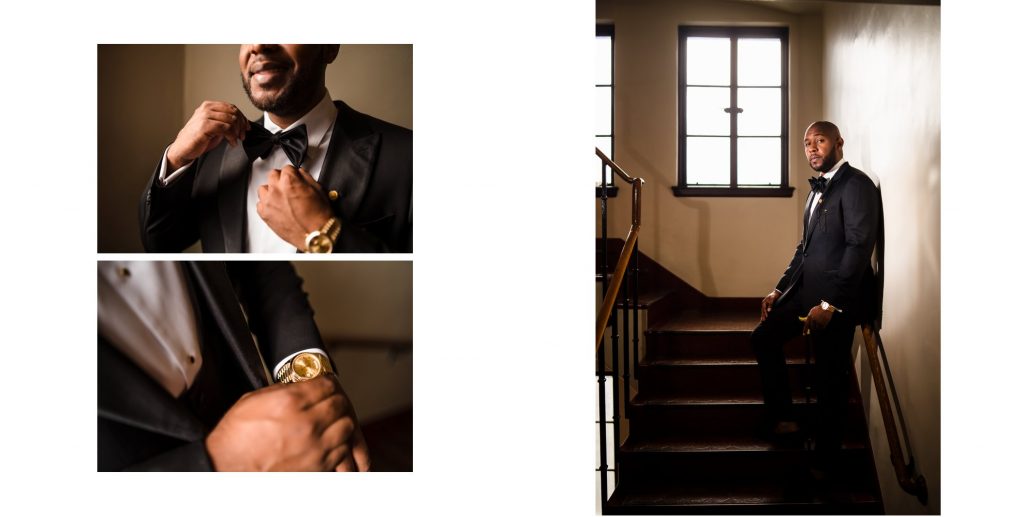
Keyword “Groom Prep” for automatic grouping in Fundy Designer
This tip falls under editing workflow and organization, but you can keyword your keepers based on scenes, lighting conditions, etc., and Fundy Designer will automatically separate the images and group them on the correct spreads. If necessary, you can fine-tune the layout later and drag and drop the images wherever you need them to go, which Fundy Designer also makes easy to do.
Photo Editing Tip #6: Revisit EVERY Image AFTER Final Approval
Lastly, there are few things more heartbreaking than spotting an error in an image AFTER the album that costs hundreds of dollars is shipped to your studio. Revisit every image in every spread, zoom in to 100% view, scan each image, and then do it again until you’re comfortable and absolutely sure that you’re ready to send the album to print. If you spot anything that needs retouching, you may be able to use the Perfectly Clear retouching tool inside Fundy Designer to put the finishing touches on your photo album.
Conclusion
From capture to print, we as photographers are tasked with preserving our clients’ most important moments in visual stories that will be passed down for generations. How we edit the photos can determine our level of success for creating a timeless heirloom. We hope these tips will help you create high-quality photo albums for your clients.
Do it all in Fundy Designer!
New to Fundy Designer? Get started with our free trial! Ready to try the latest version of Fundy Designer? Click here to purchase or upgrade to Fundy Designer v10!