
Most likely you are now in the thick of things – trying to design wedding or portrait albums like there is no tomorrow, while still shooting several times a week. I’ve been there. August can be brutal trying to keep up. This blog post will show you how to save your sanity with some workflow adjustments to cut down your design time.

Culling for Album Selects
The most important step is to start doing an album selects cull in Lightroom and re-exporting your print selects into a separate folder. This is a subset of your main exports that are the wow shots and storytelling images you’ll be presenting to your clients to go to print. Trying to design an album with 800+ photos can be a mental nightmare. By culling down to a reasonable amount of photos before bringing them into Fundy Designer you can really cut down on the mental fatigue of album design.
How To Cull
Culling for an album design is different than culling for wedding keepers. And a cull for an album design works perfectly for culling for wall art and card selects. So from here on out I’ll refer to album selects, but these selects will work perfectly for wall art designs or cards as well.
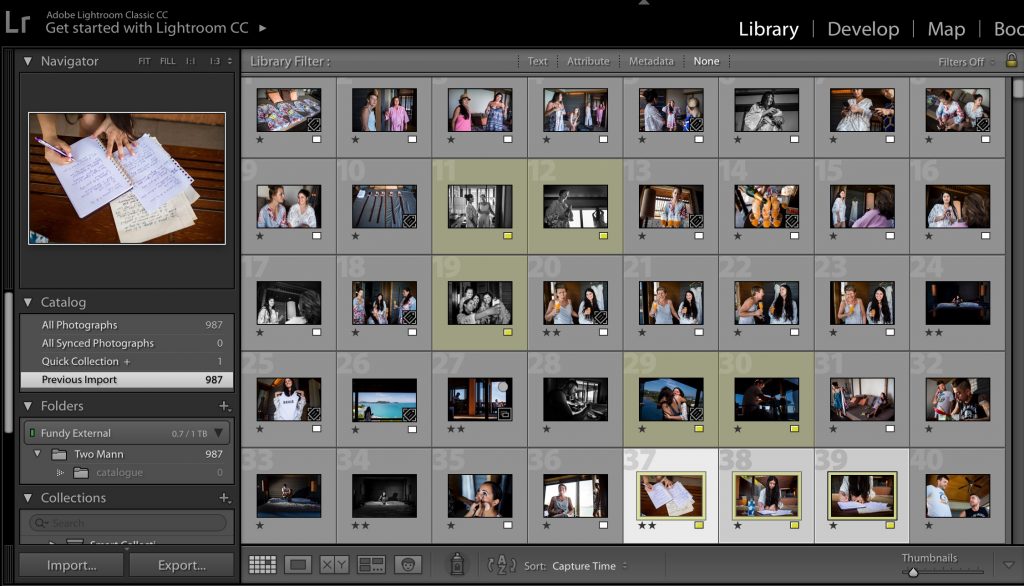
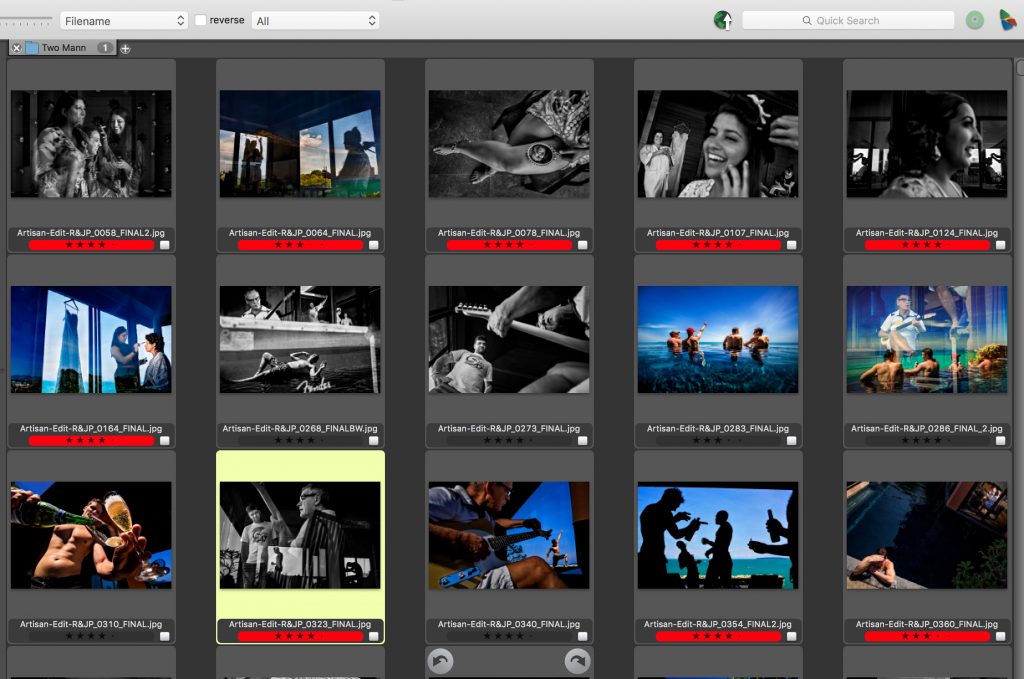
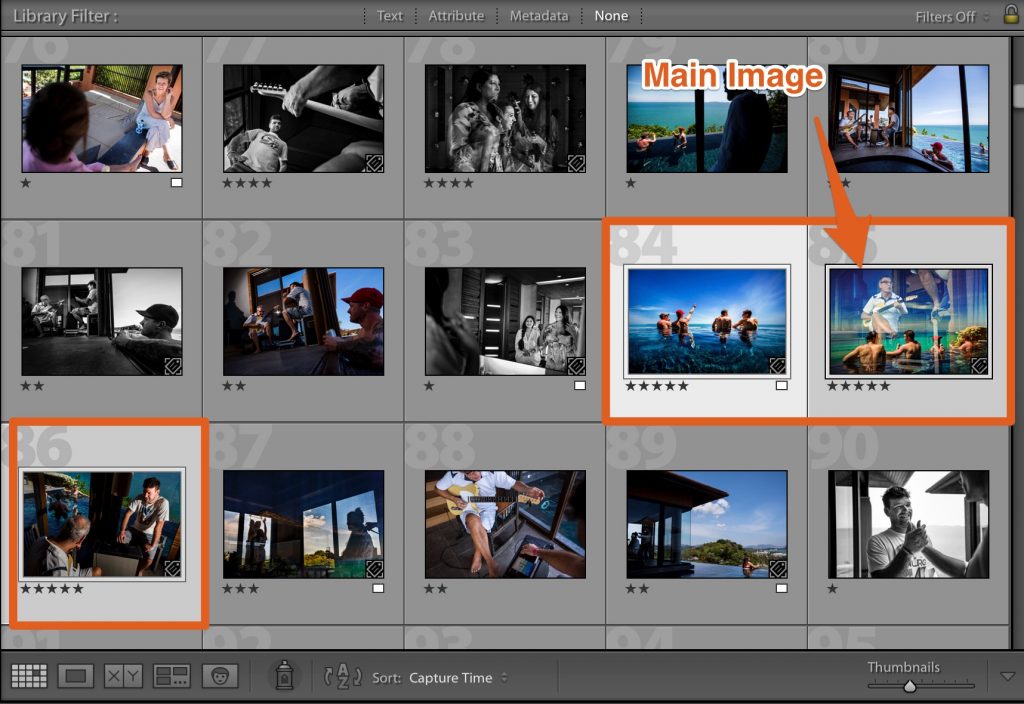
The key is to see in groups of images. Each image group should contain one strong image and one or more supporting images that tell a story. These groups should be able to create a single album spread or wall art grouping (just one). If you have similar photos and you think the bride or groom might like an alternative, go ahead and include it.
I like to use star ratings to tag album selects. I’ll use 5 stars for my definite selects and 4 stars for my alternates.
When finished I’ll export these as full Rez JPEGs from Lightroom. I like to use 96 quality in Lightroom, saves me some disk space, but doesn’t compromise quality. Or use JPEG mini for ultimate compression.
Import Into Fundy Designer
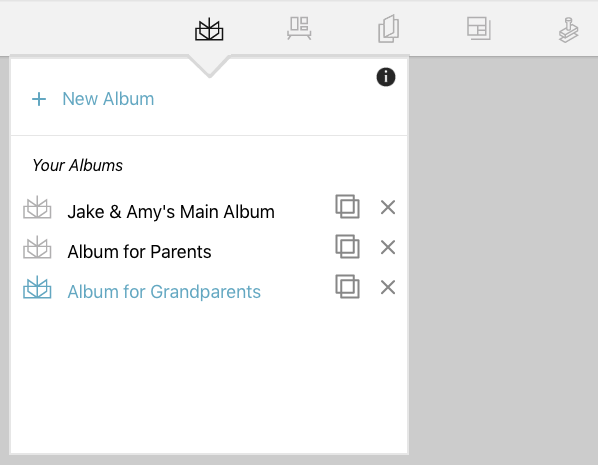
The next step is to create a project for your clients and import the photos. Remember, in just one project you can create multiple albums (e.g. main and parent albums), wall art and cards – as well as run a sales session. Create a new blank album with your lab of choice and get ready to design.
Tag Your Favorites
At this stage you can tag your favorite photos to the a “main” image, a “cover” image or a “panorama.” Also, remember that if you are a Lightroom Pro you can tag the keywords above and Fundy Designer will read them.
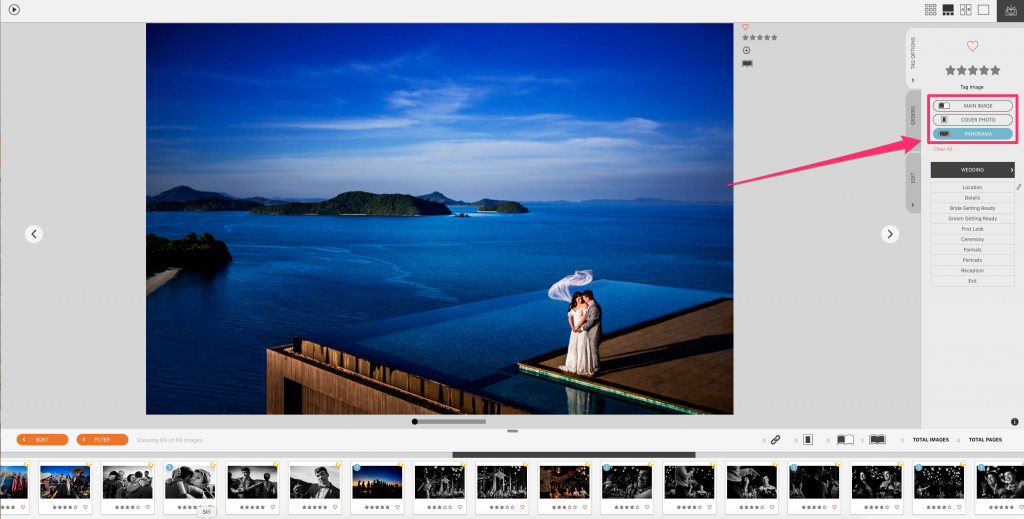
The key purpose of this step is to allow the Auto Design to create an album design out of the box that you’ll love.
Auto Design
You’ll notice that by taking a little bit of extra time to cull the album and tag any favorites that the auto design in Fundy Designer will give you a design that is pretty much done.
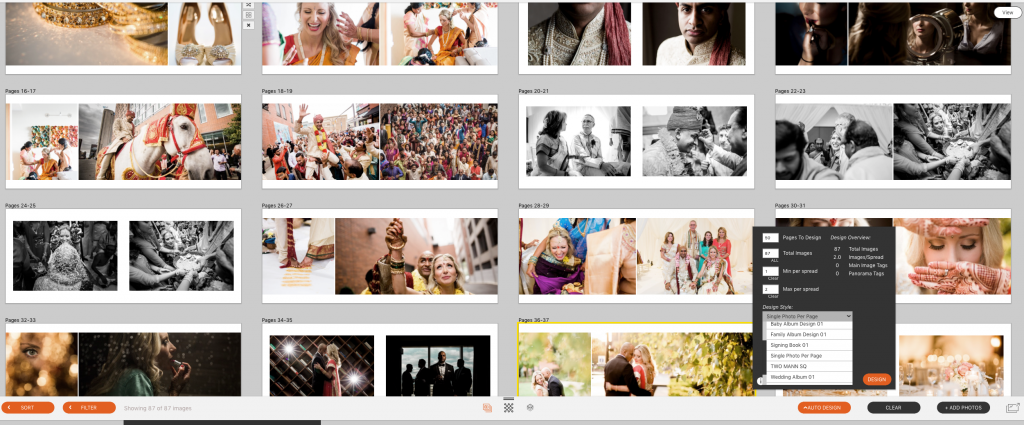
Choose what type of auto design you want. You have control over everything from image ratios to the maximum number of photos on a spread.
Now Show Your Clients
Now that the design is done, upload it to Design Proofer and send that link out to your client (with automated email reminders). We’ve built it to push clients to approve album designs on the first pass. They can still request changes, but the entire program was built to get quick approvals from your clients.
If you really want to speed up your album design game, this is the best workflow I’ve found in over a decade of designing albums. Give it a try and we’re sure you’ll be designing and delivering albums to your clients faster than ever.

If you haven’t played around with the newest updates to the Auto Design be sure to check for updates under the Help menu. If you aren’t using the latest version of Fundy Designer, be sure to download the trial here.


