This exploration into Lightroom’s Retouching Kit actions is brought to you by Britney Gardner, of Portland, OR. For more of her talented work, see the links at the end of this post.
If you’re like most photographers out there, you’re spending less and less time in Photoshop. As a photographer, spending as little time in front of the computer as possible is always good. Cutting out an entire step saves a significant chunk of time. With the introduction of Lightroom Retouching Kit, you might be one step closer to not opening Photoshop at all.
First things first, installation was easy and exactly as their short PDF guide instructed. This is always a good way to start! It comes with a handy hot-key guide for some commonly used Lightroom tools, which is a nice little bonus, particularly if you don’t consider yourself a Lightroom expert. I’m a big fan of saving time; hot-keys save a lot of time. I opened Lightroom after the install and quickly checked out the brushes added into my toolkit. Since a wedding I just finished processing was already loaded in Lightroom, I looked for a quick headshot of the bride to test out the brushes without looking at tutorials.
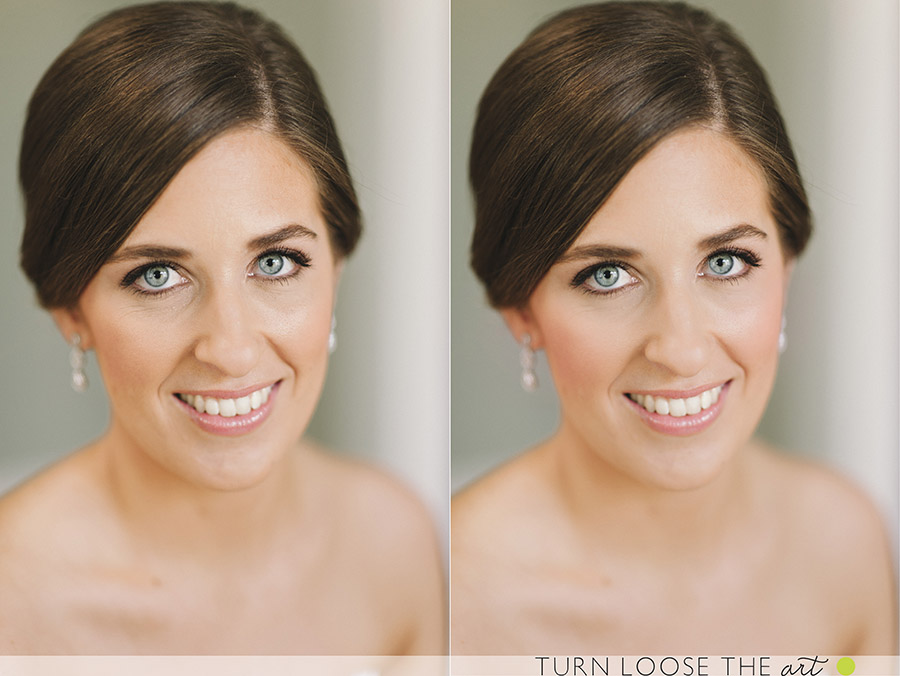
Meet Kate, a very typical bride in our studio. She had a great makeup artist and she’s naturally very pretty. As I suspected, there wasn’t much I needed to do to the image even though it’s fairly close up as a bridal headshot. I scanned through the list of brushes and used their Beauty Brush | Natural for an overall sweep over her skin, including chest and collarbones. I also used the Lips | Lipgloss and Lips | Smooth Lips just on her lower lip to smooth them out a bit. Blush is another brush I used a touch on her upper cheekbones. For all these brushes, I used them at their natural settings but reduced the flow of my LR brush a bit. In fact, the only brush I used and then changed the settings on was the eye brush – Eyes | Blue. Kate’s eyes are already a very light blue and I felt it enhanced the highlights too much.
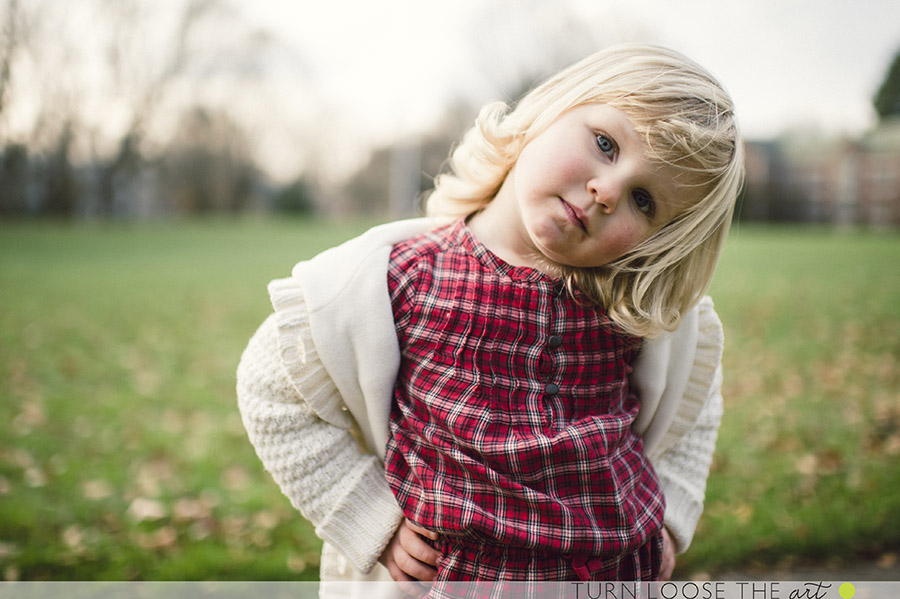
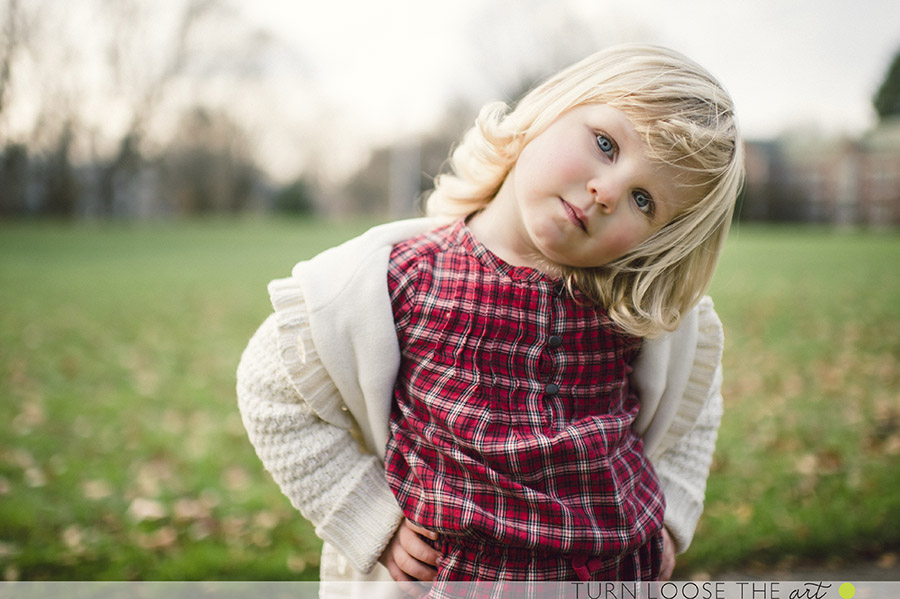
So, maybe Kate wasn’t the best subject to test out the Lightroom Retouching Kit. I quickly looked at the recent Lightroom catalogs and remembered a chilly family portrait we photographed recently. Beth’s a typical fair skinned child that chaps easily and this week was no exception. Her mother was worried about her skin not looking good in the portraits. Here’s the unretouched, color-corrected image of Beth.
In this case, I started by brightening up her bottom eye using the Adjustment | Brighten + brush and then followed up brushing at a low flow over her whole face with the Adjustment | Shadows Brighten brush. At this point, I’m at a good base to start working on her few skin issues.
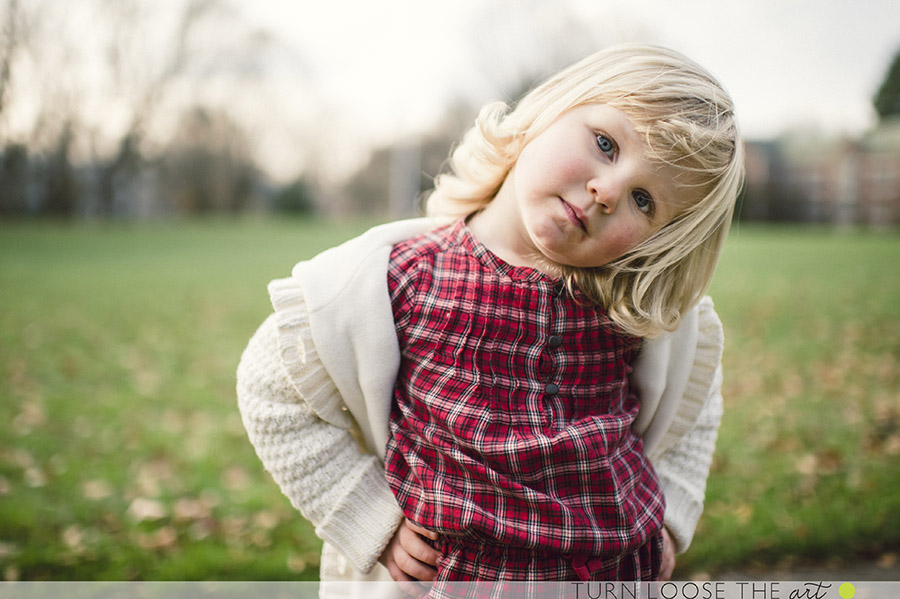
I started with Skin | Reduce Redness at a brush with a slightly reduced flow of 70. The Reduce Redness + was too much. Then I used a combo of Beauty Brush and Soften, both at a lower flow again to cover the chapped cheeks and chin area. Next I moved to enhance her eyes with the Eyes | Baby Blues brush. I tried out the Hair | Blondie brush but couldn’t see a difference in using it – perhaps Beth is so blond already? Finally, I touched up the cold sore in her lower lip corner area. This brings us to the final image. It’s more in line with what I had in mind as I took the photo and her mother absolutely loves the image.
I quickly edited a few images I remember struggling with in the past. Each of the following images were edited in two minutes or less, always a bonus whether you present fully finished images or just retouch a few favorites.
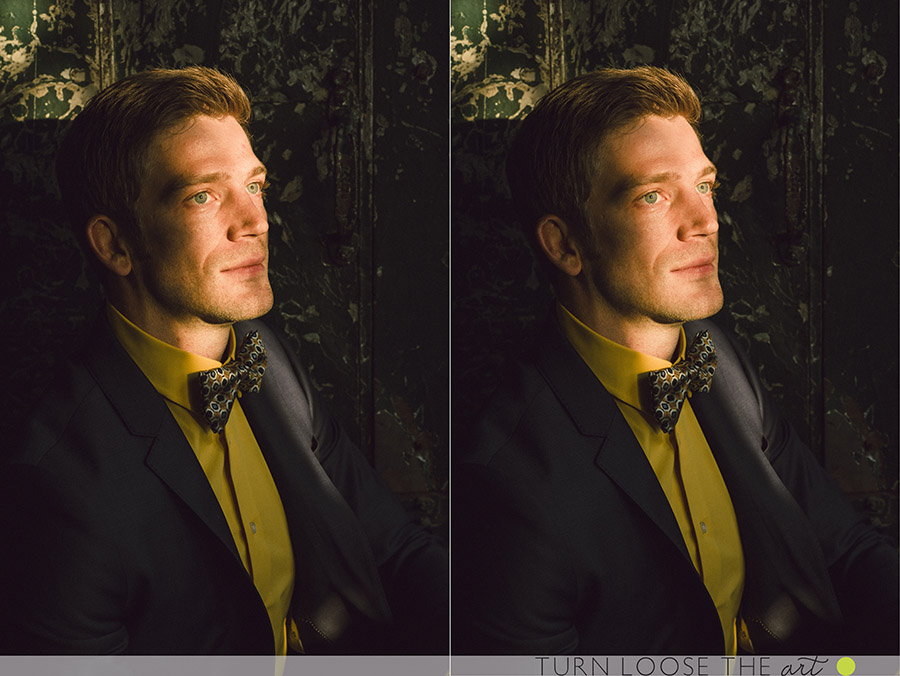
I checked out how the brushes handled stubble on a guy that doesn’t love a perfectly clean shave – I’m pretty impressed. This is the Beauty Brush.
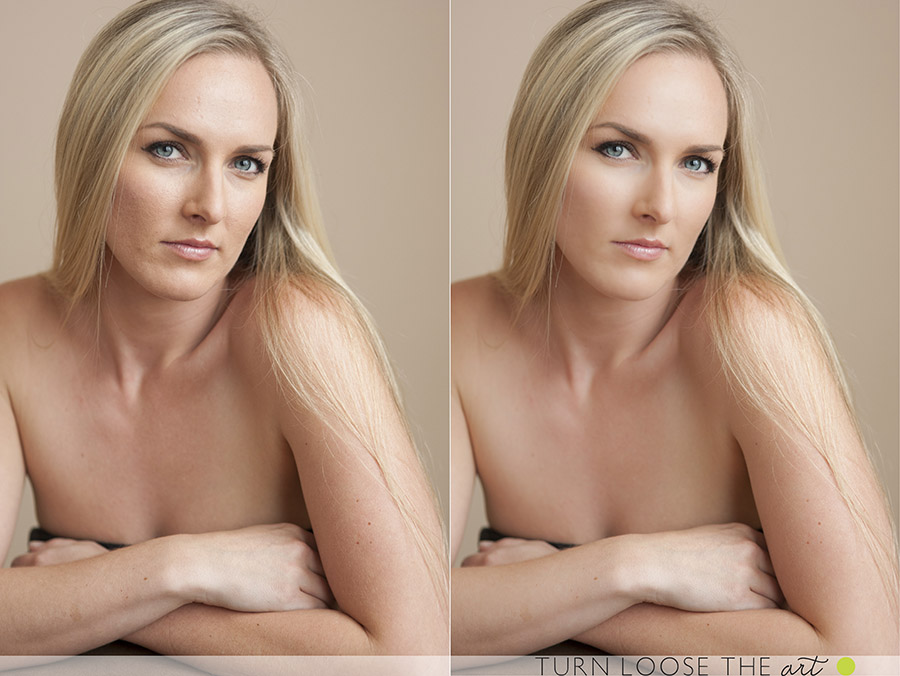
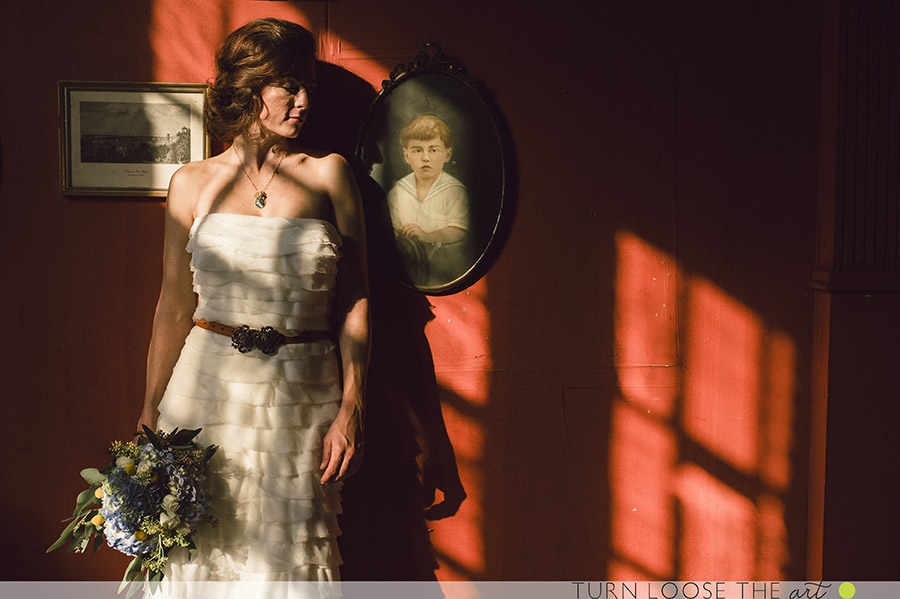
We often shoot in harsh light, but this does present challenges when it comes to retouching. Though I love this portrait, Lindsey’s skin looks really rough here – and the brushes handled it admirably. I ended up using a couple layers of Beauty Brush and Soften over her cheek area as well as a bit on her hand and shoulder.

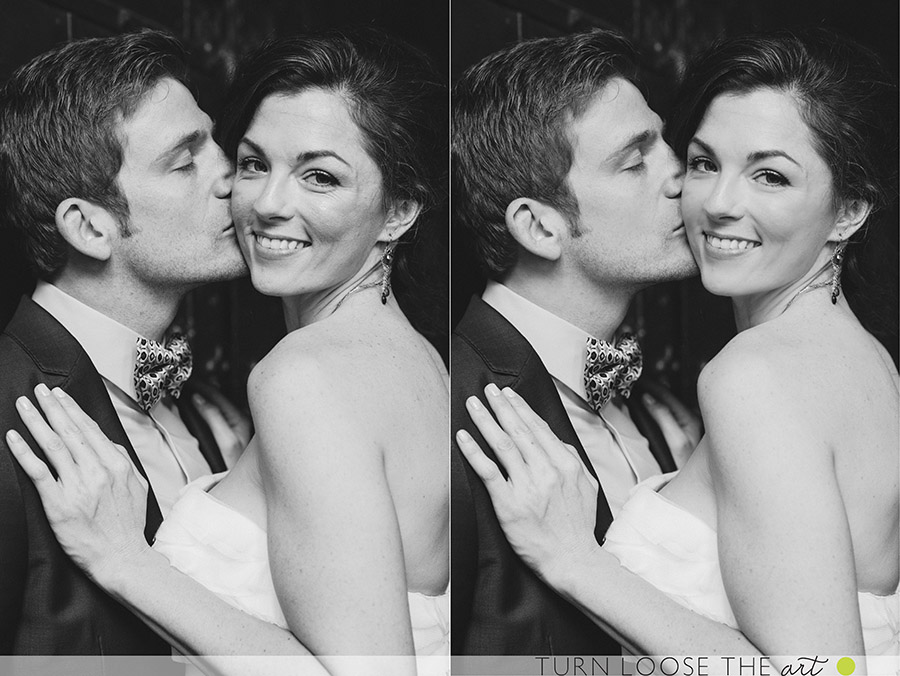
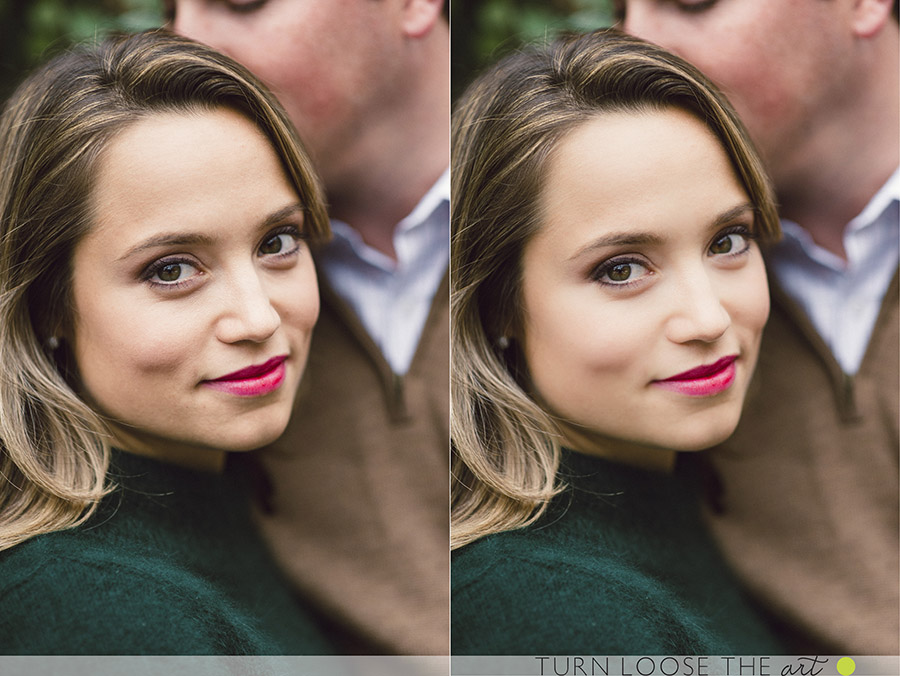
By far, the toughest image is this image of Lindsey and Trevor together. The lighting is perfectly even from a large bank of windows behind me, so every skin imperfection is lit evenly. Three minutes later, I’ve got a retouched portrait I’d be happy for them to see, just as happy with sharing it on Facebook because they look great.
Overall, I’m very pleased with the toolkit and could see myself using it in the future. I’m the kind of editor that gets distracted easily in between tasks, so if I have to export to Photoshop for retouching, I’ll likely not get around to the images for a while because I’m checking my email and lose track of time waiting on the export. Retouching within Lightroom just makes sense. Using the toolkit should cover about 95% of the retouching we do within our own studio. Since we retouch every image before presenting to clients, this will be a huge time saver.
You can learn more about Lightroom Retouching Toolkit right here. We highly recommend it at Fundy Software.
Britney is a friend and local portrait and wedding photographer based in Portland, OR. She and her husband Joe comprise the duo Turn Loose the Art and travel all across the globe for their clients. She is also the sole proprietor of Willow Album Designs, where she crafts beautifully made albums for many wedding photographers. Fundy Album Builder V6 has contributed a huge amount to her workflow as a designer.


