Tilt shift is making a bit of a comeback. You can find it on some iPhone apps, like Snapseed and Instagram. Additionally, both Canon and Nikon have updated their tilt shift lenses in recent years. It is a technique that can either come off as VERY cheesy or as a very nice effect. As with everything else, if used sparingly, it can be very effective.
A new 24mm tilt shift lens from Nikon or Canon runs about $2,000. The same effect can be created in Photoshop. While the effect doesn’t look exactly the same as an actual lens, it still looks pretty cool.
This filter only exists in Photoshop CS6 and is just one of the reasons why it is worth it to upgrade. To access the filter, simply open an image and under the filter menu, choose Blur>Tilt Shift.
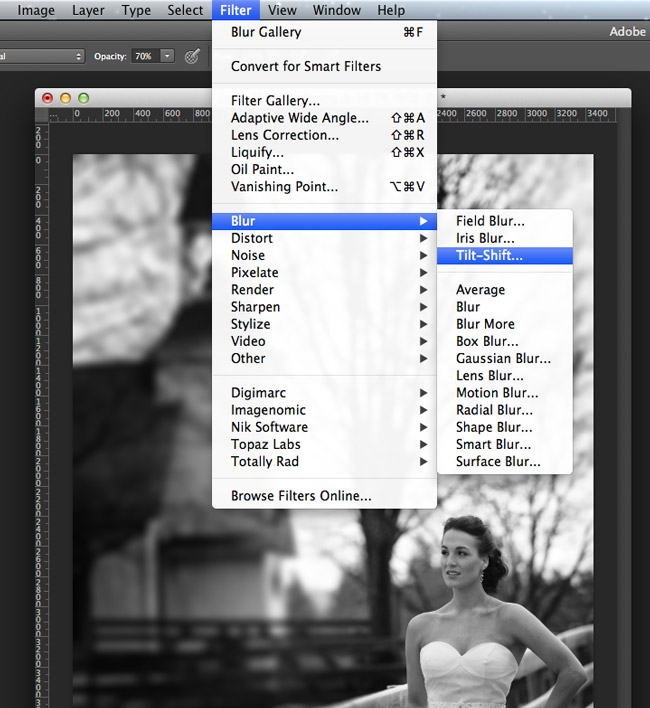
How To Use
The Tilt-Shift filter is very easy to use. Once it opens up, you are met with an easy-to-use interface.
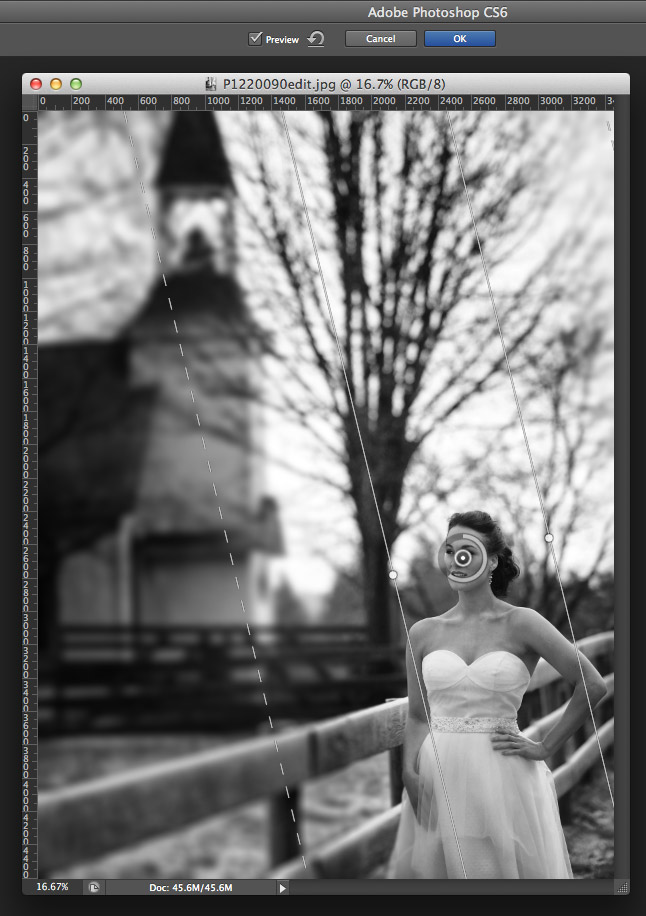
The inside point is where your image is IN focus. The circle around the point is the strength of the blur. Simply drag your mouse around the circle to increase or decrease the blur. The hard line on each side of the blur is where the blur begins. You can drag that line in and out to affect how much of your image is in focus. Additionally, you can drag the lines around to change the angle of the effect. The dotted line is the transition and feather. Everything between the hard line and the dotted line is the transition to the blur. The dotted line is the feather that bleeds out to the full blur.
How To Video
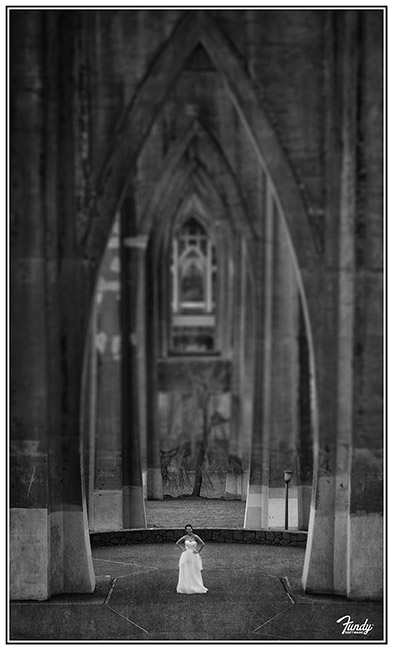
Sample Images
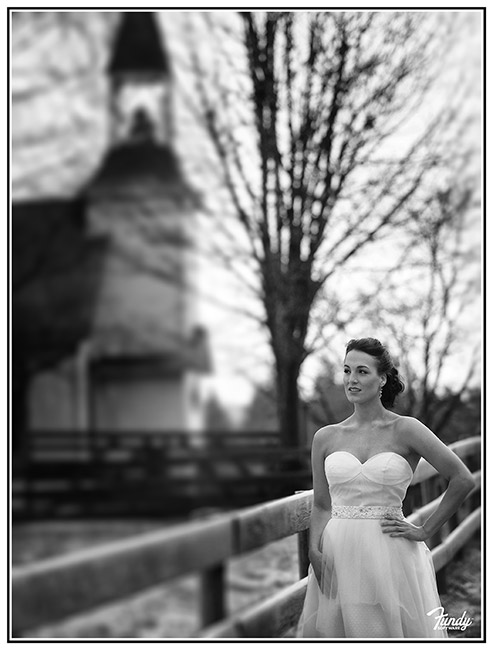
Before
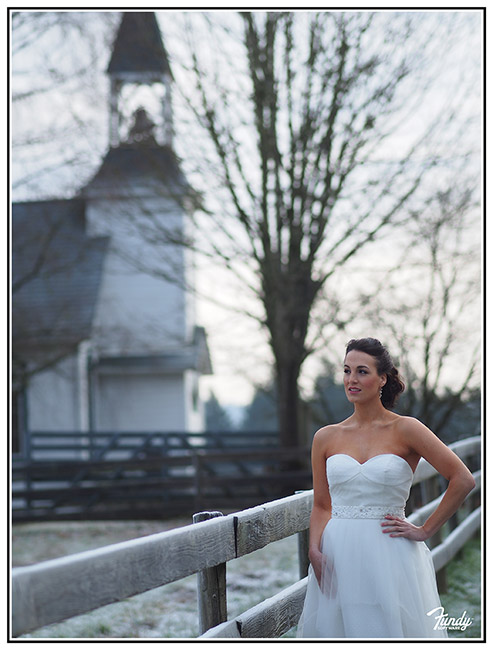
After
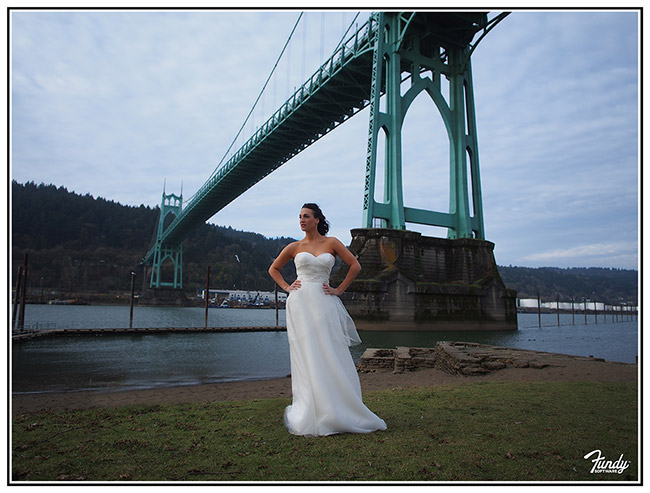
Before
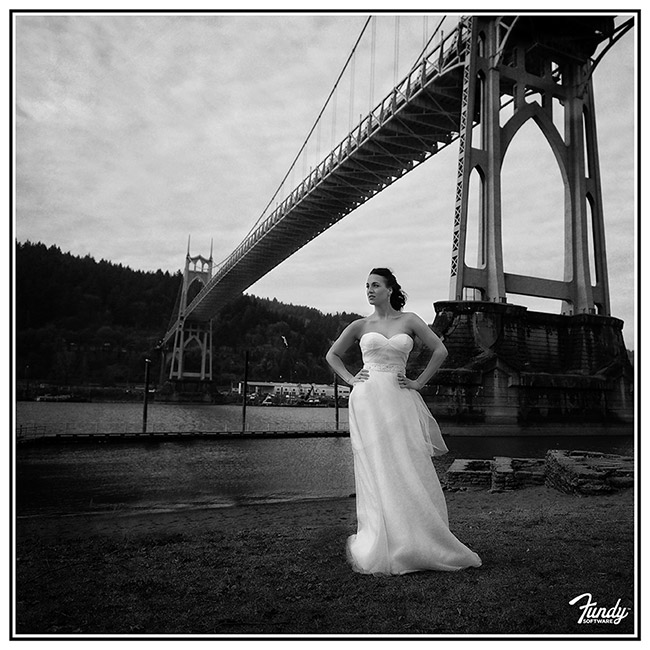
After
Before
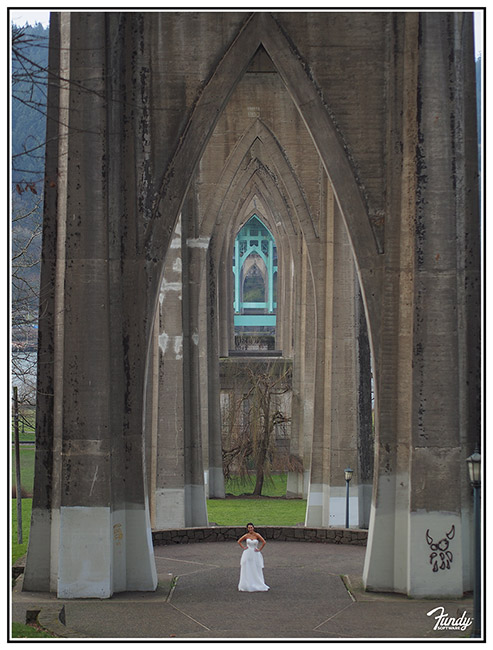
After