The busy wedding season is coming to a close, which means it’s almost time to start designing albums. To help with that process, we’ve compiled our top album design tips as well as other suggestions to help with your design and workflow. The design tips originally ran in Rangefinder magazine last summer.
Tip #1 – Remember Why: the Family Legacy
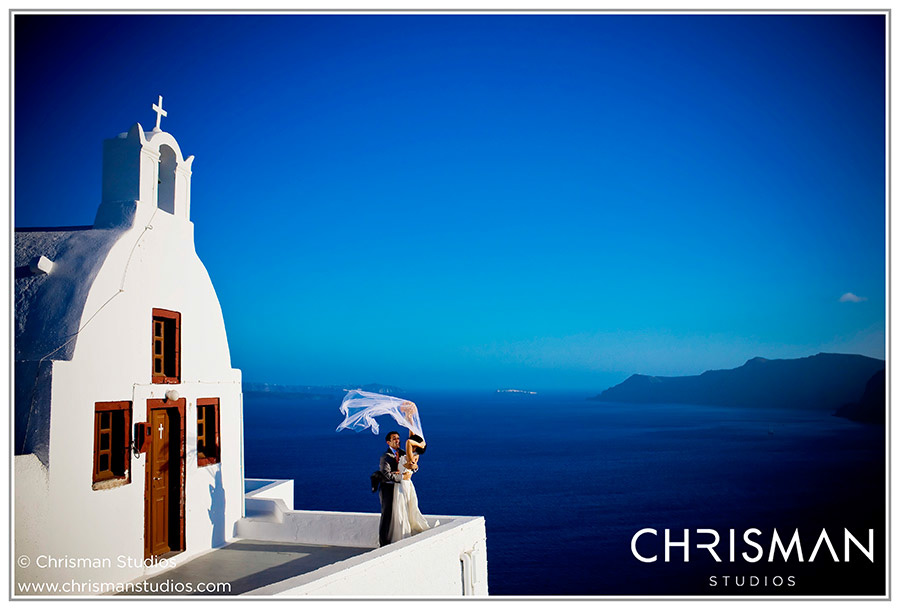
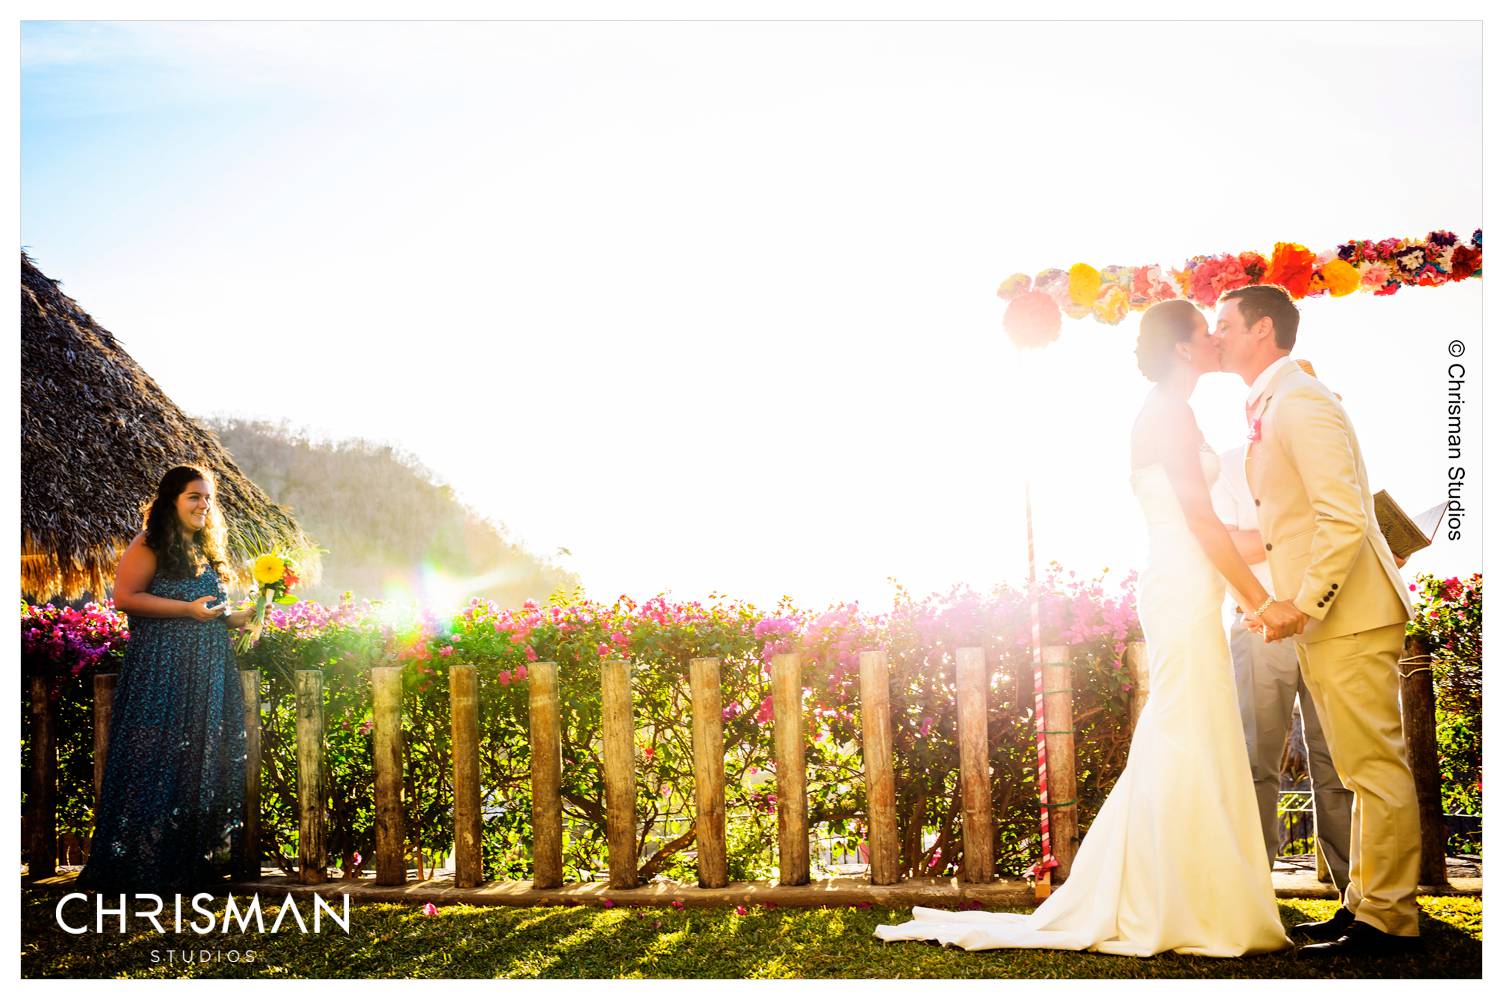
The first tip in album design is to remember why we, as photographers, are designing albums. Sure, there are all of the business reasons to design albums – the profitability, the brandability – but ultimately we are creating albums for the legacy of the family.
There is no other photography format in the world that lasts longer than albums. Any photo that you hang on a wall – whether it be canvases, long-lasting fine art inkjet or traditional prints behind a frame – won’t last as long as prints inside a book. Print longevity is all about lightfast and prints in books are protected from light. We are preserving our clients’ legacies – for them, for their children and their grandchildren. With albums, we are preserving their legacy the safest way possible, in a way that will last hundreds of years.
Tip #2 – Less is More
The number one mistake I see people make when designing an album is simply putting too much into the album. Sometimes this means too many images per page and sometimes this means too much design. Albums don’t need a lot of backgrounds, fades, images as backgrounds, etc.
The design should show off the imagery, not the design. To quote one of my favorite books, “Don’t be afraid of the white space.” Don’t be afraid to let your images breathe on the page. White space on the page simply shows your clients that are you are confident in your imagery.
Tip #3 – Have a Workflow
Having worked with thousands of photographers regarding album design, we’re able to see what works and what doesn’t work. One of the worst things you can do is start your album design process with 500-1,000 or more images from a wedding (all of your wedding keepers). Regardless of what software you use, it is cognitively impossible to be effective when dealing with so many images. Use a piece of software like Lightroom, Bridge or Photo Mechanic to pare down your album selects to 80-150 images before starting to design. When choosing my album selects, I target 3-4 images total per page and then end up using about 2.5 images per page. For example, my album selects total about 90-120 images for a 30-page album and then in reality, I end up using about 75 images in a 30-page album. Of course each photographer will differ, but this is a good target to strive for.
For more workflow tips, check out this recent post by our Director of Education on Post Production Workflow.
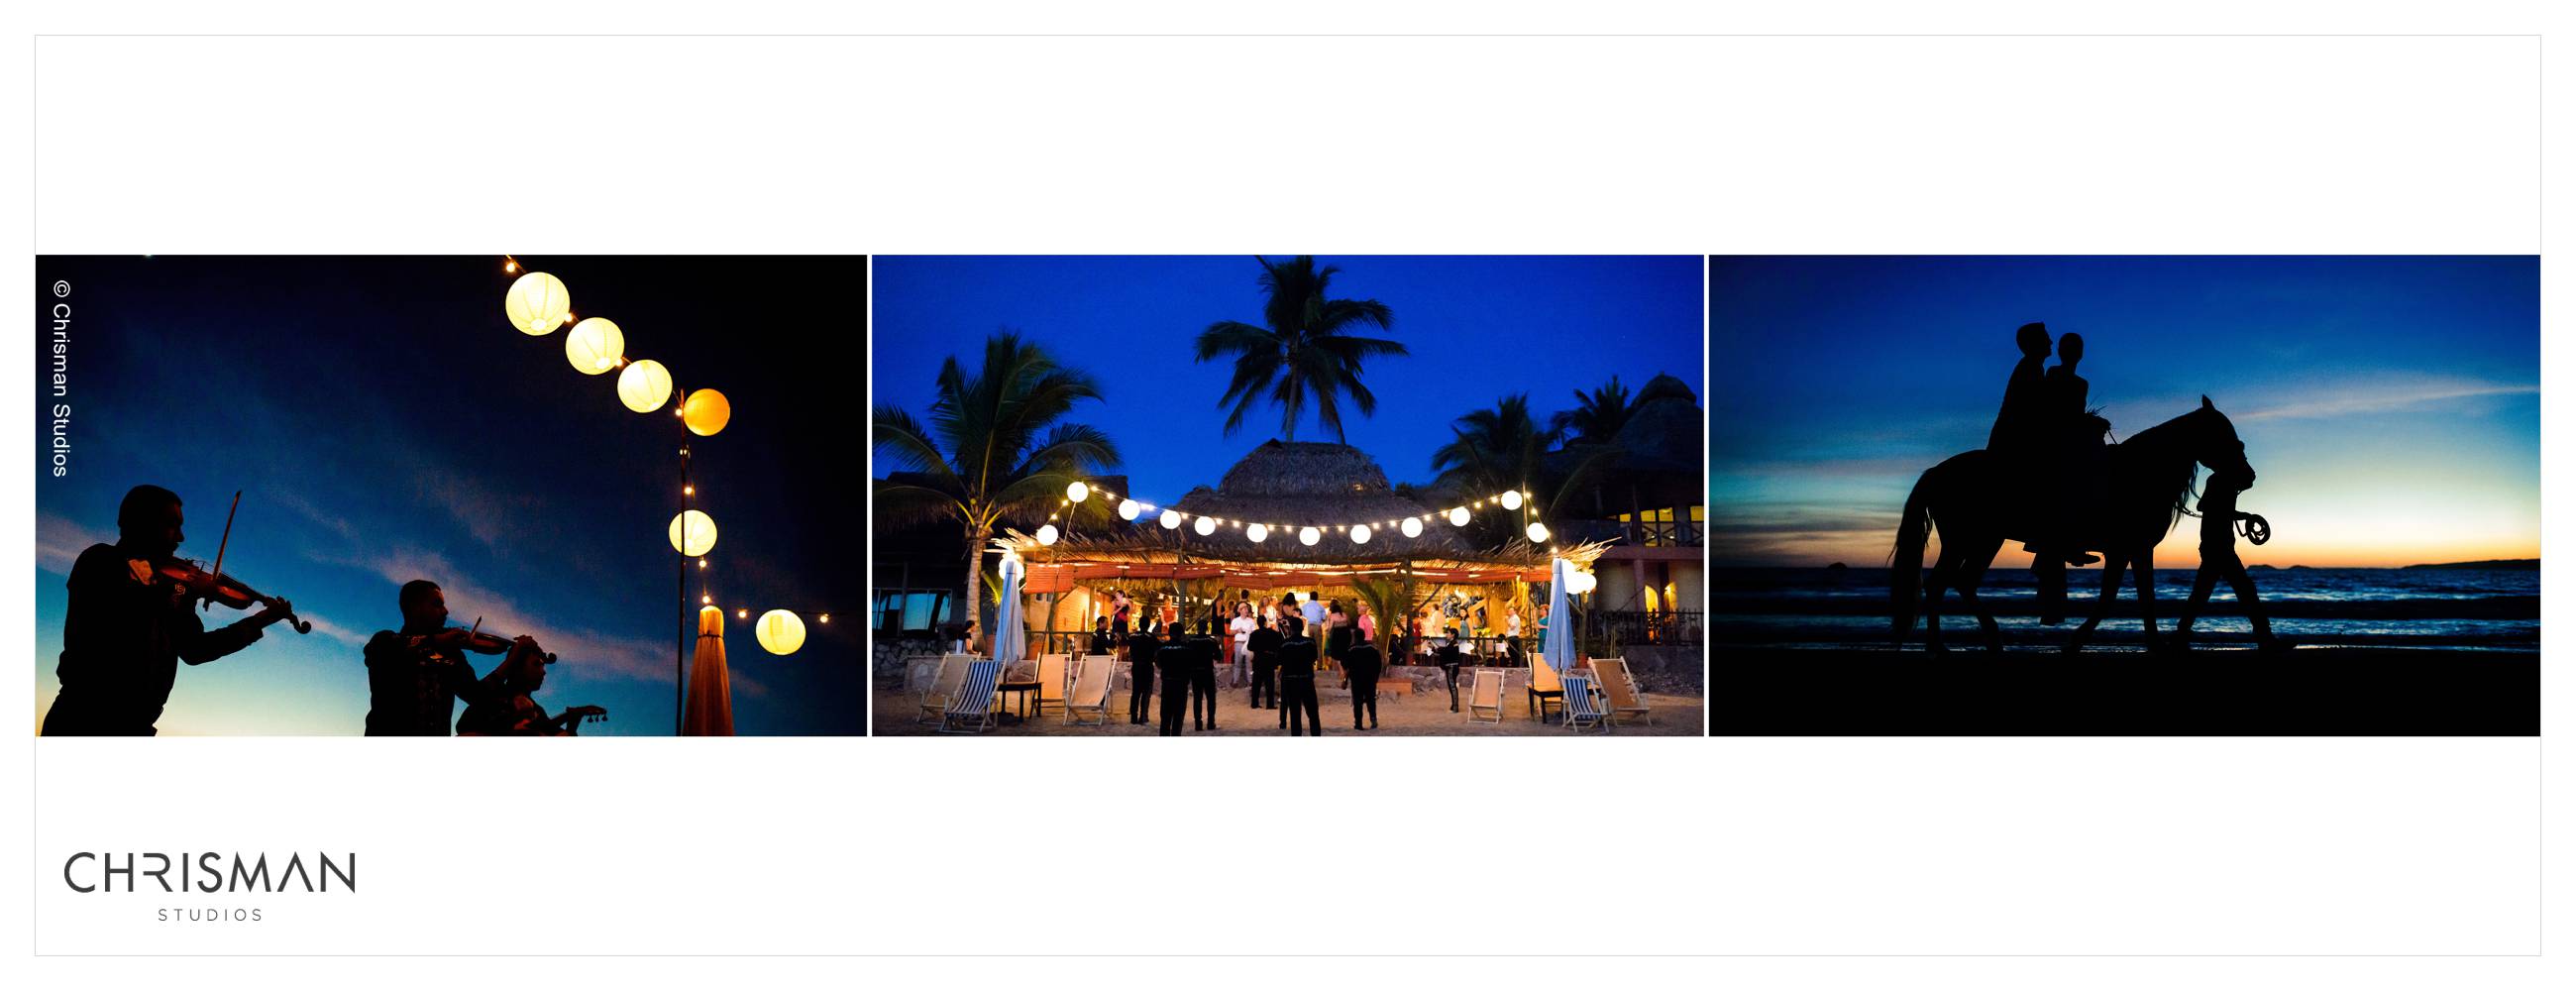
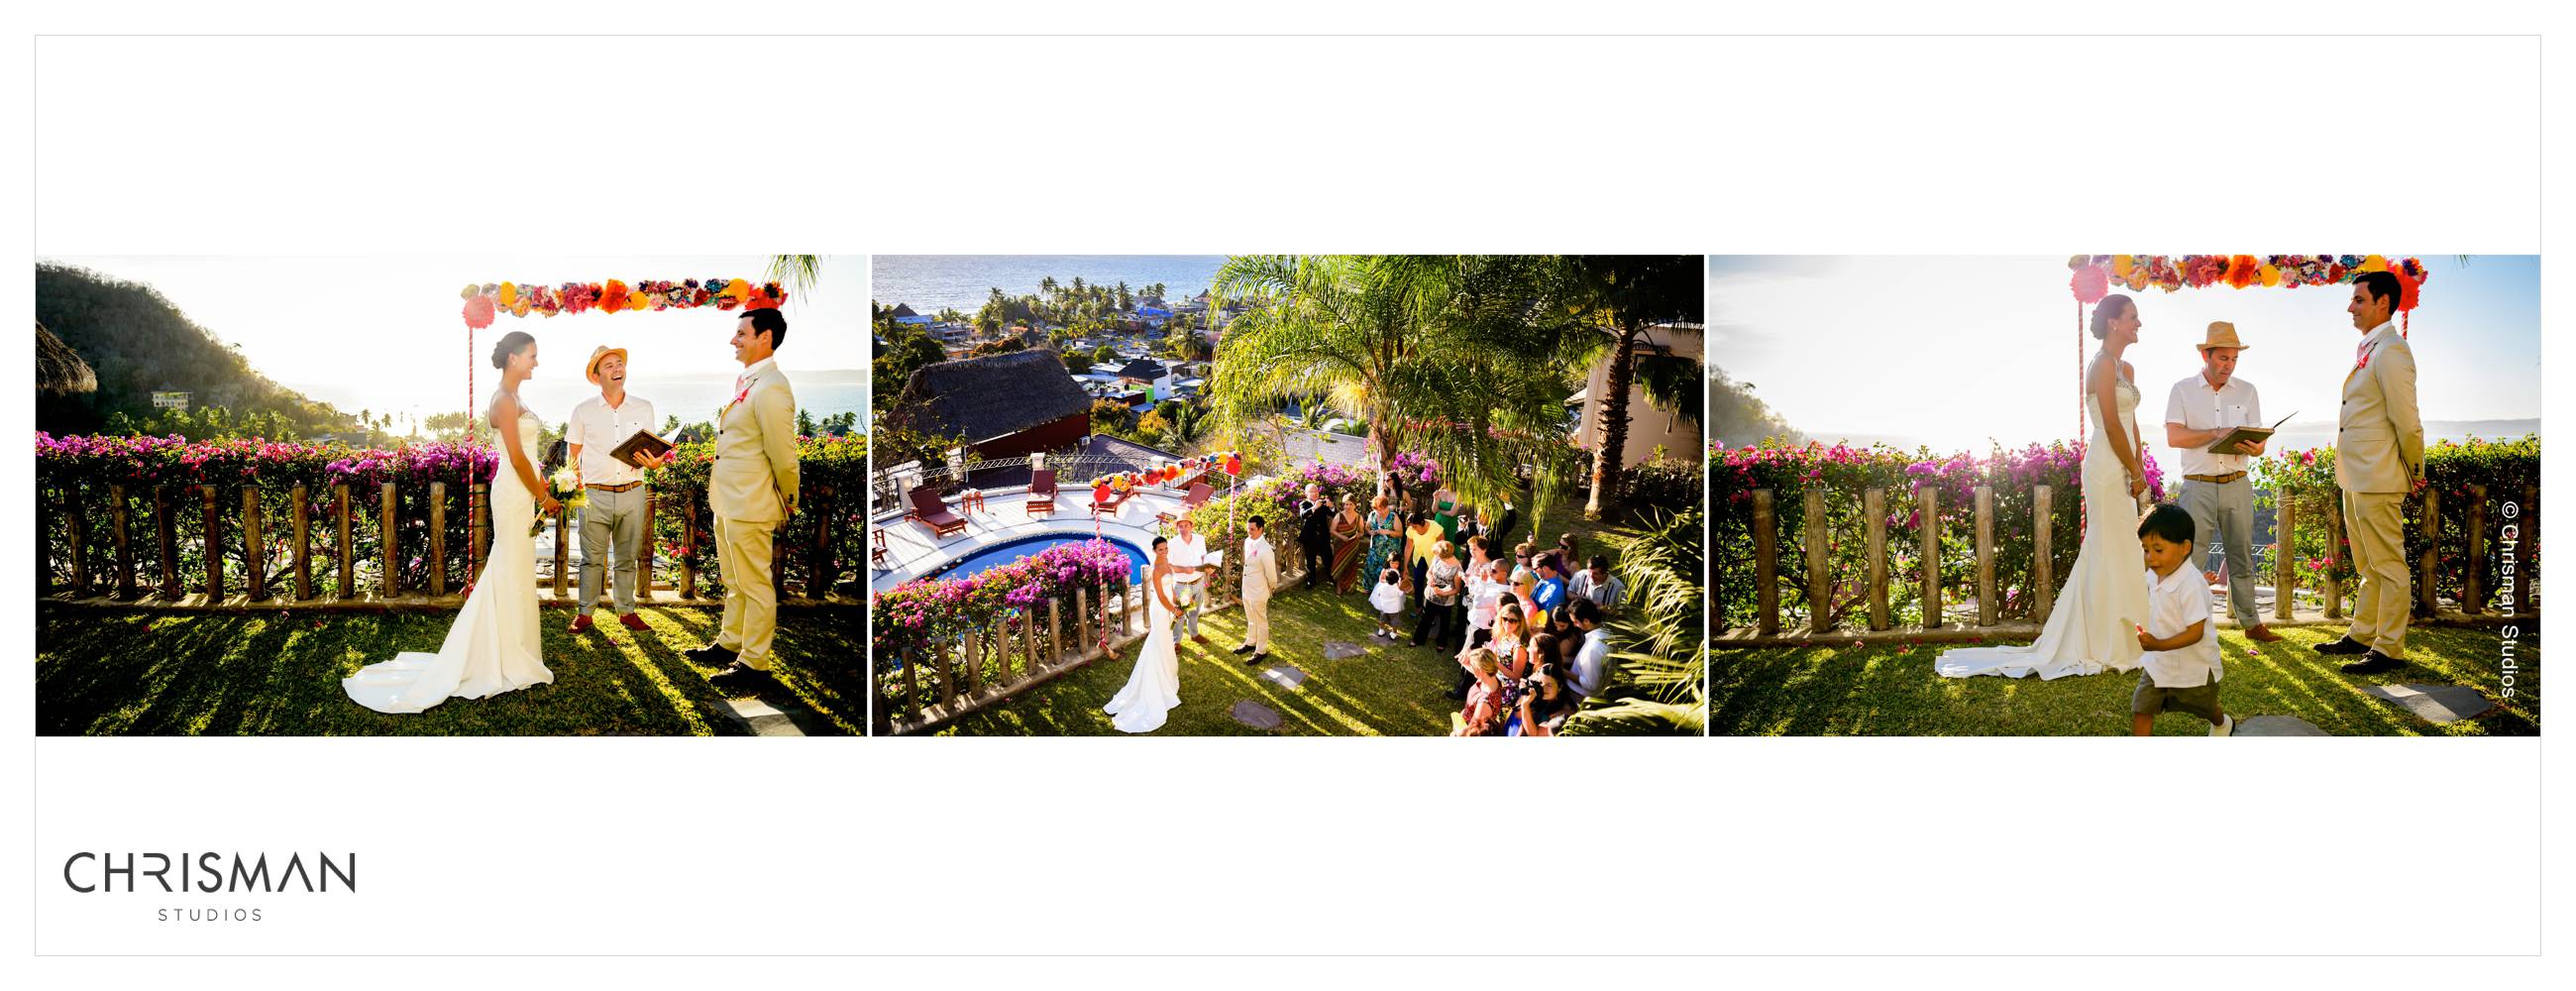
Tip #4 – Focus on Mini Stories
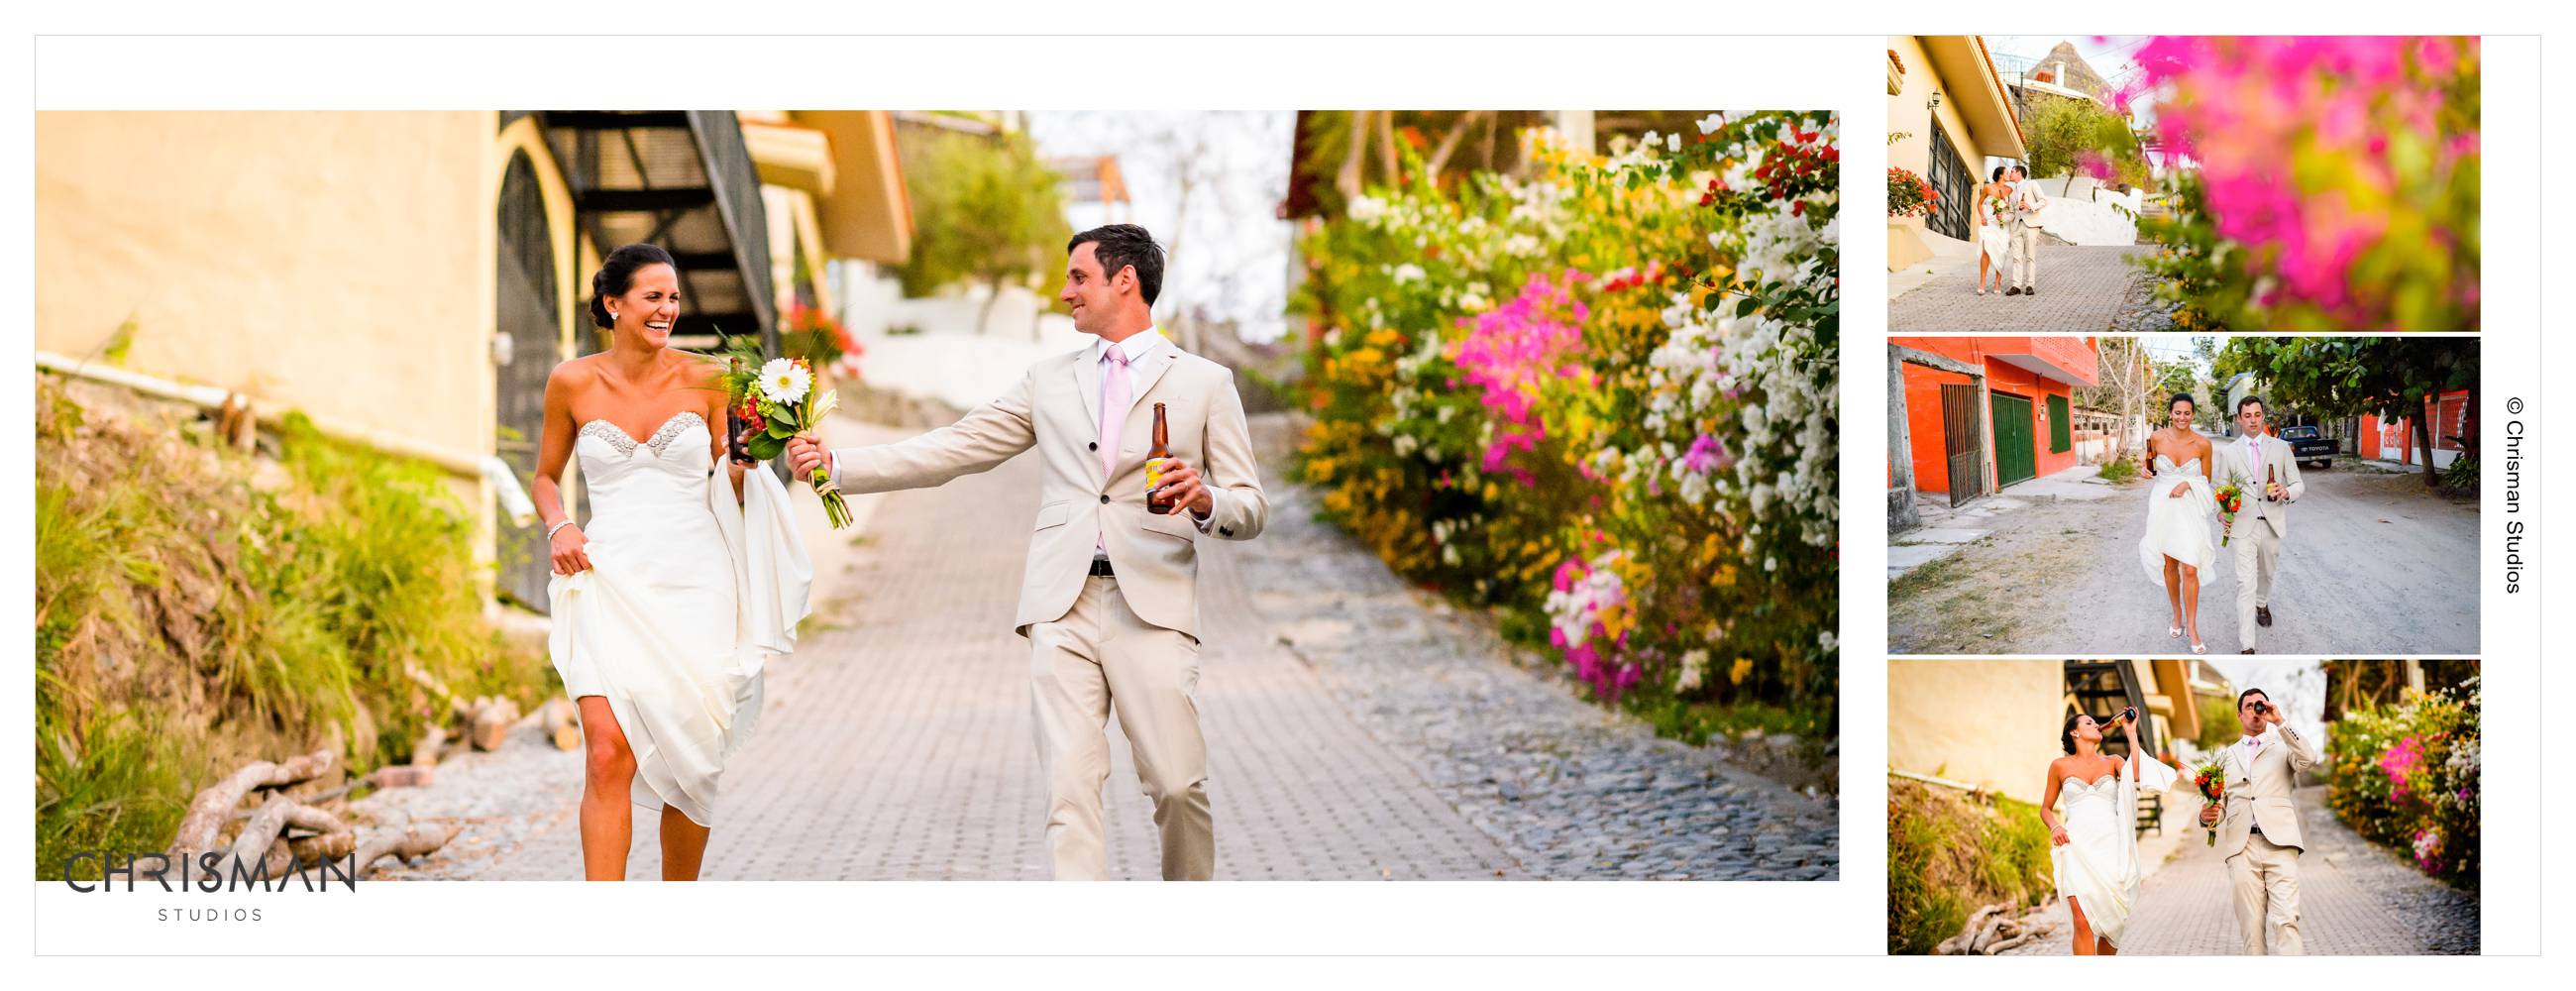
The easiest way to design an album is to view each spread (a left and right page) as one mini story. On each spread you should only place images that were taken during the same moment, have the same basic color palette and are part of the same sequence. When you do this, designing an album becomes simple. Start at the beginning of the day, select images that are mini stories and place them on spreads. When you are finished placing the mini stories on the spreads, refine the design and you are done. Once you become accustomed to designing with mini stories, you’ll start shooting for these mini stories and cull for them and your album design process will become faster and faster.
For more on shooting for and designing with mini stories, check out this more in depth blog post.


