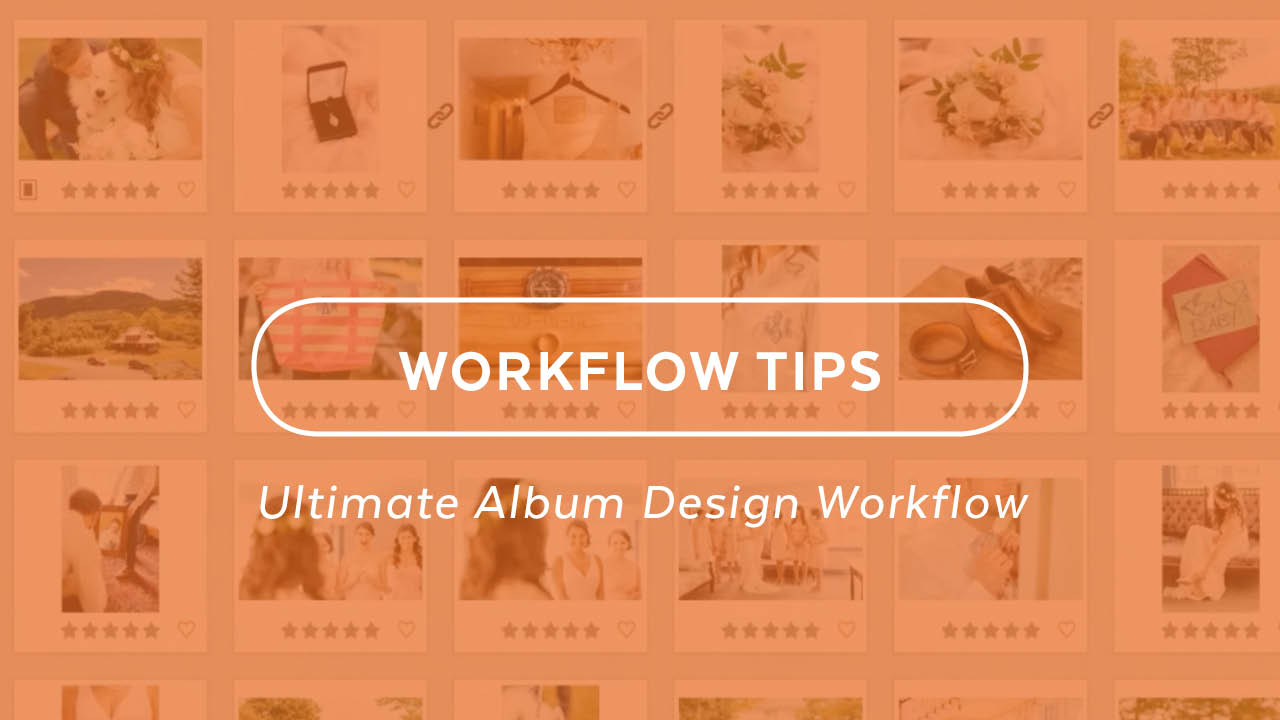
Have you always wondered what the ultimate workflow for album design is? We’ve put together this 10-part video series on the perfect workflow. Sit down, grab a cup of coffee, tea or beverage of your choice and invest in yourself. By putting these tips into your workflow, you’ll save days, if not weeks over the next year.
Step 1 – A Framework
It’s important to begin with the end in mind. Watch this video on placing the album as the final goal in your workflow and how that changes, and cuts down on your work.
Step 2 – Sync Your Cameras
No matter what you are doing with your photography, your cameras need to be in synced. We all know the tried and true method of setting the times to match in the camera, but the method in this video makes things easy if you are using associate shooters who bring their own cameras. You can even sync after the fact if you forgot to take a reference photo.
Step 3 – Cull In
Culling is the process of choosing your “keepers” after a shoot. By default, human nature wants to simply look for the blinks and duds and cull them out. But the process of culling “in” means that we are only looking for the best photos to represent our client’s story.
Step 4 – RAW Processing
There are a million ways to process raw photos and ultimately it comes down to taste. But often overlooked is consistency with color tone and treatment, especially with photos that might end up on the same spread.
Step 5 – Choosing Design Selects & Alternates
For the best album designs, the photographer should choose the design selects. This video shows you how to not only choose design selects, but the strategy around choosing alternate photos, so any client changes can be made effectively and efficiently.
Step 6 – Designing The Album
This is a quick step-by-step process of designing the album with just the design selects while leaving out the alternates.
Step 7 – Client Presentations
If you are presenting your albums in person or over video chat, or would like to learn how, here is the process. Learn how to present albums and create client invoices on the spot.
Step 8 – Online Proofing
If you would like to proof your album design online, this step-by-step video shows you how to use our Design Proofer.
Step 9 – Retouching
After your album is approved, you may want to give your photos some extra love in Lightroom, Photoshop or another editing program. Use the workflow tools build in Fundy Designer to make this process simple and efficient.
Step 10 – Ordering Your Album
From export to order, this video shows you how to order via your lab or album company or via Fundy Direct Ordering.


