
You’ve seen the success posts in the Fundy Designer Facebook Group. How the industries most successful wedding and portrait photographers make more in print sales than they do shooting. You’ve heard about the $50k Extra strategies to add additional revenue to your bottom line. In this blog post, we’ll show you just how it’s done. Whether you’re a compete newbie to in-person sales, or a seasoned veteran, this post will make your sales soar!

Pre-Design
The key to a successful IPS session is designing for your clients. Some photographers choose the album and wall art selects for their clients and some like to meet with their clients and have them choose their favorites. But all successful Fundy Designer users will then use the automated tools in Fundy Designer to have completed designs ready to show their clients.
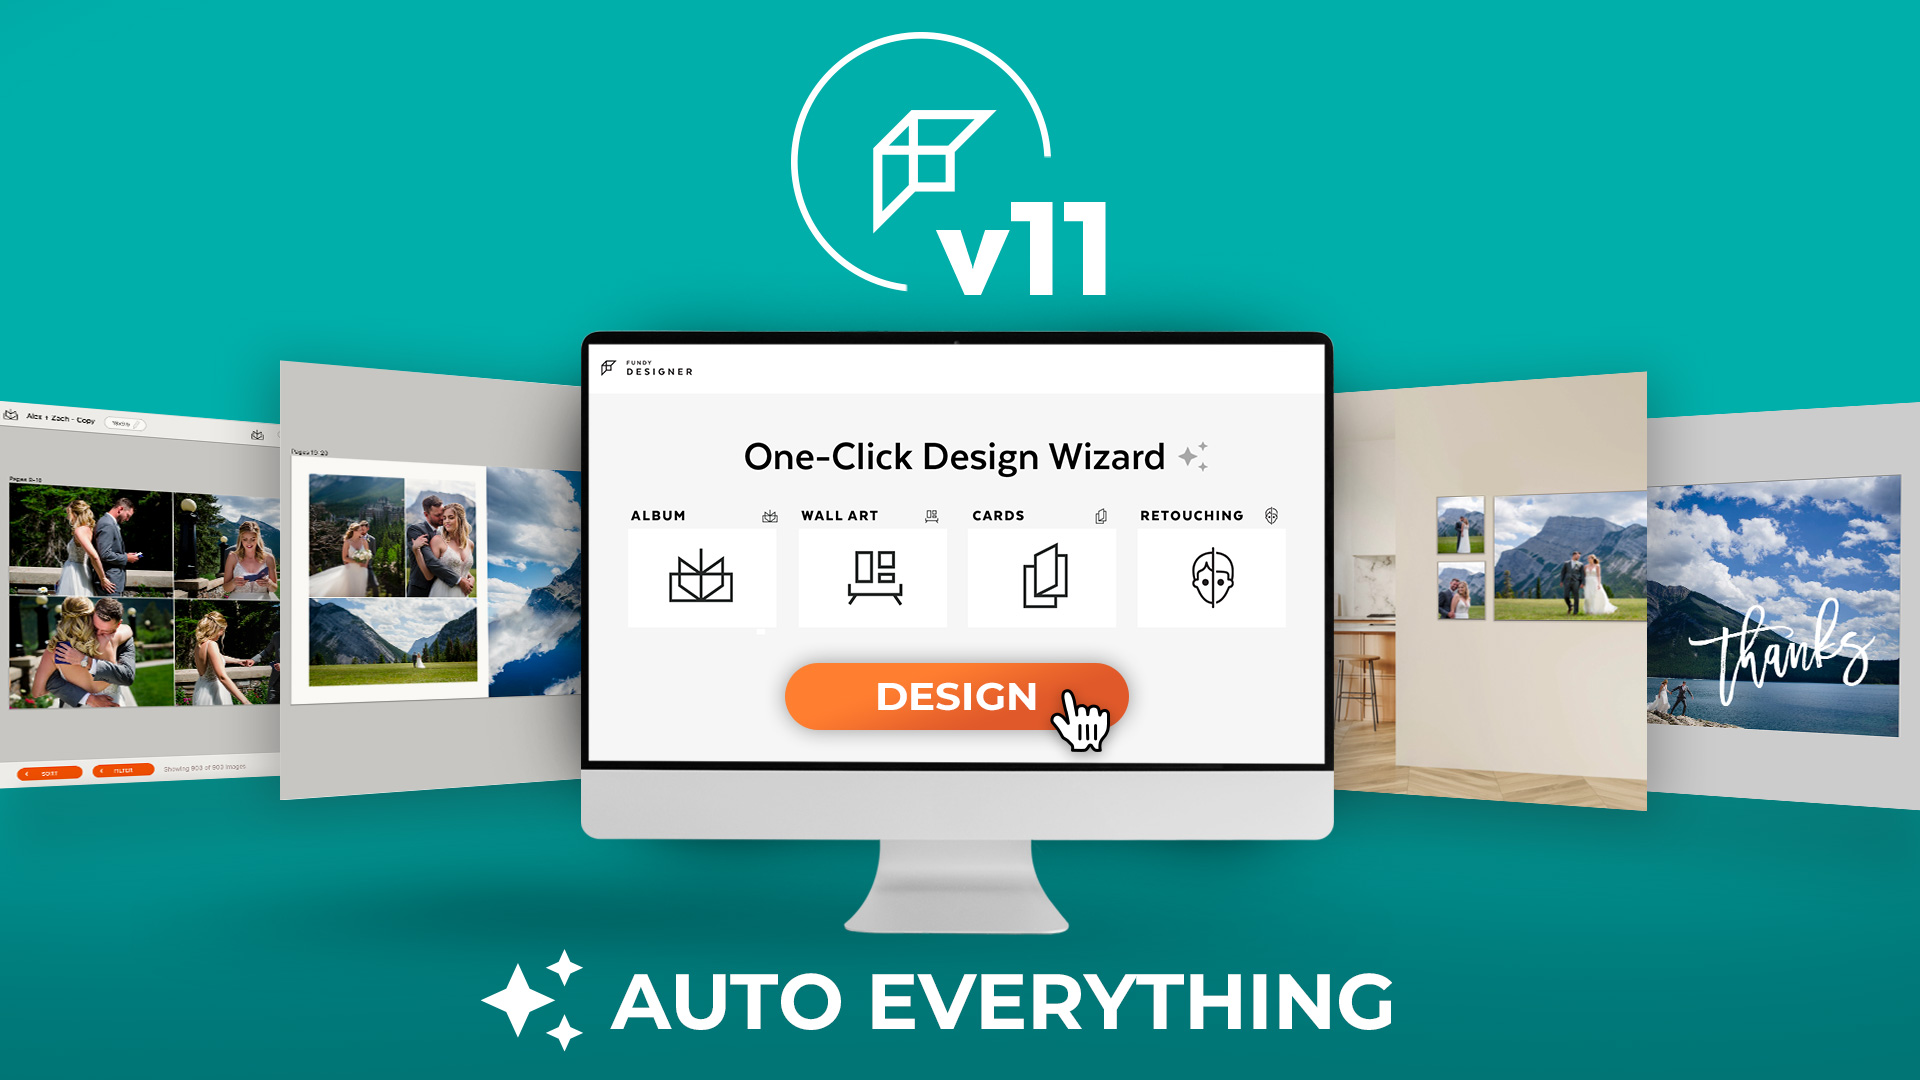
The new v11 of Fundy Designer allows you to fully retouch a portrait session or wedding in seconds and then design an entire album, several wall art collections and card set in under 60 seconds. If you haven’t seen how this is done yet, check out this blog post on the basic how to and then check out this blog post if you’d like some more advanced controls.
Choose The Favorites
The goal of choosing the favorites and using the stars is that we can then tell the Design Wizard just what we want to design. Here is a good strategy to start with.
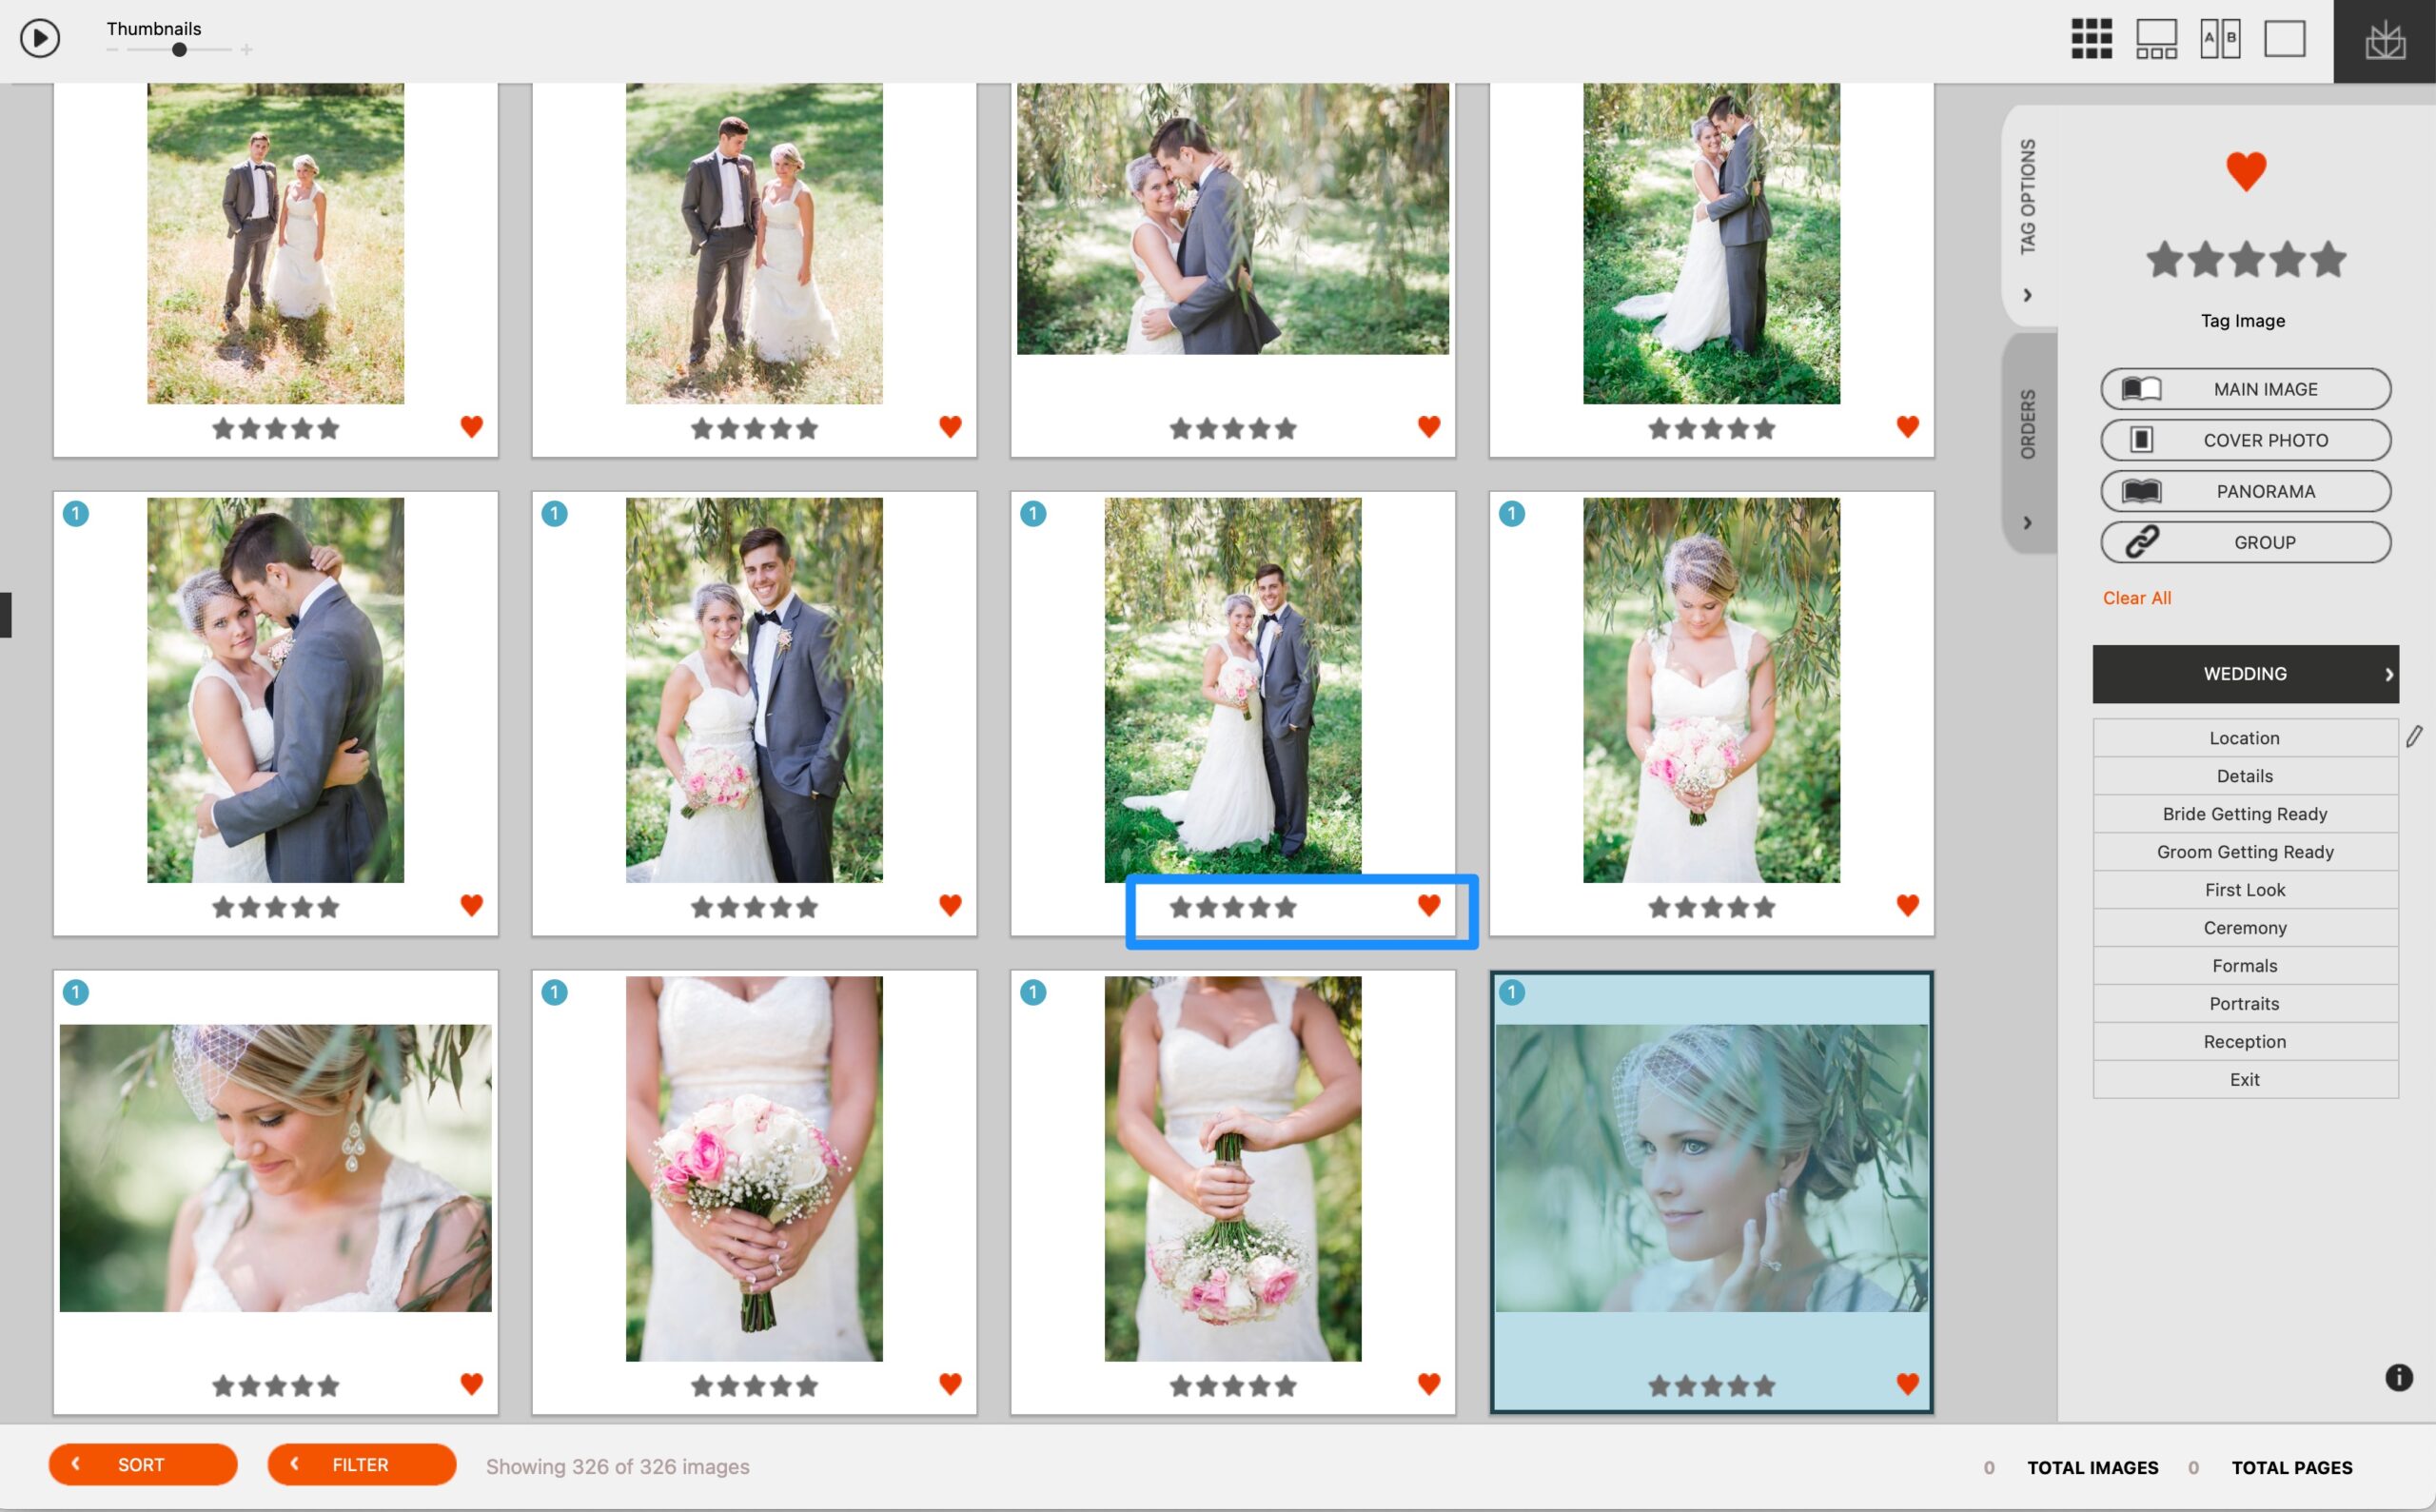
Album Selects: if you want to use all of the images in your Fundy project in the album, then do nothing. But if you want to use a subset of the images, we recommend using the heart icon (the f hotkey will toggle the heart).
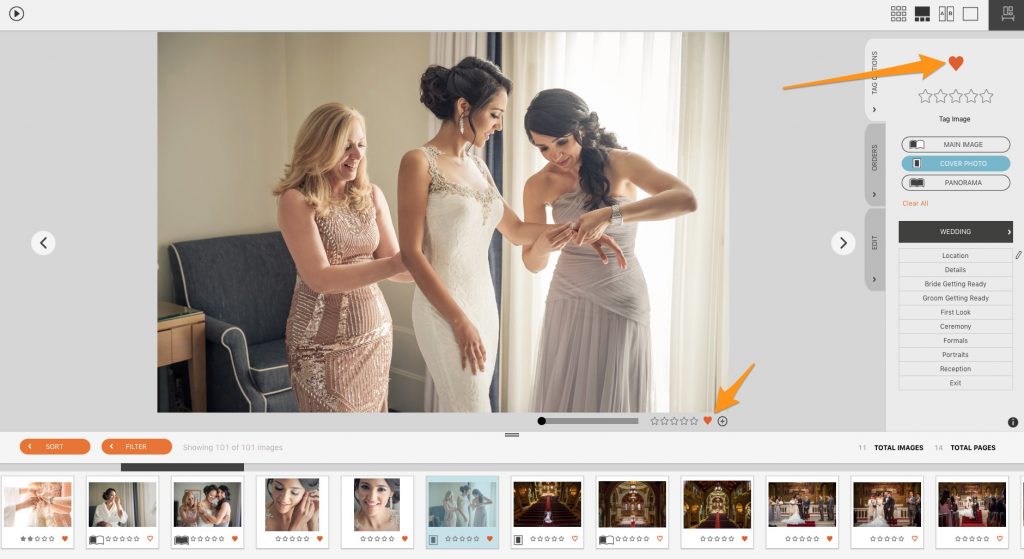
Wall Art/Card Selects: Usually with wall art and cards we want to just show the best of the best. We recommend using 5 Stars (the 1-5 keys will toggle stars). And next we’ll show you why.
Choose What to Auto Design
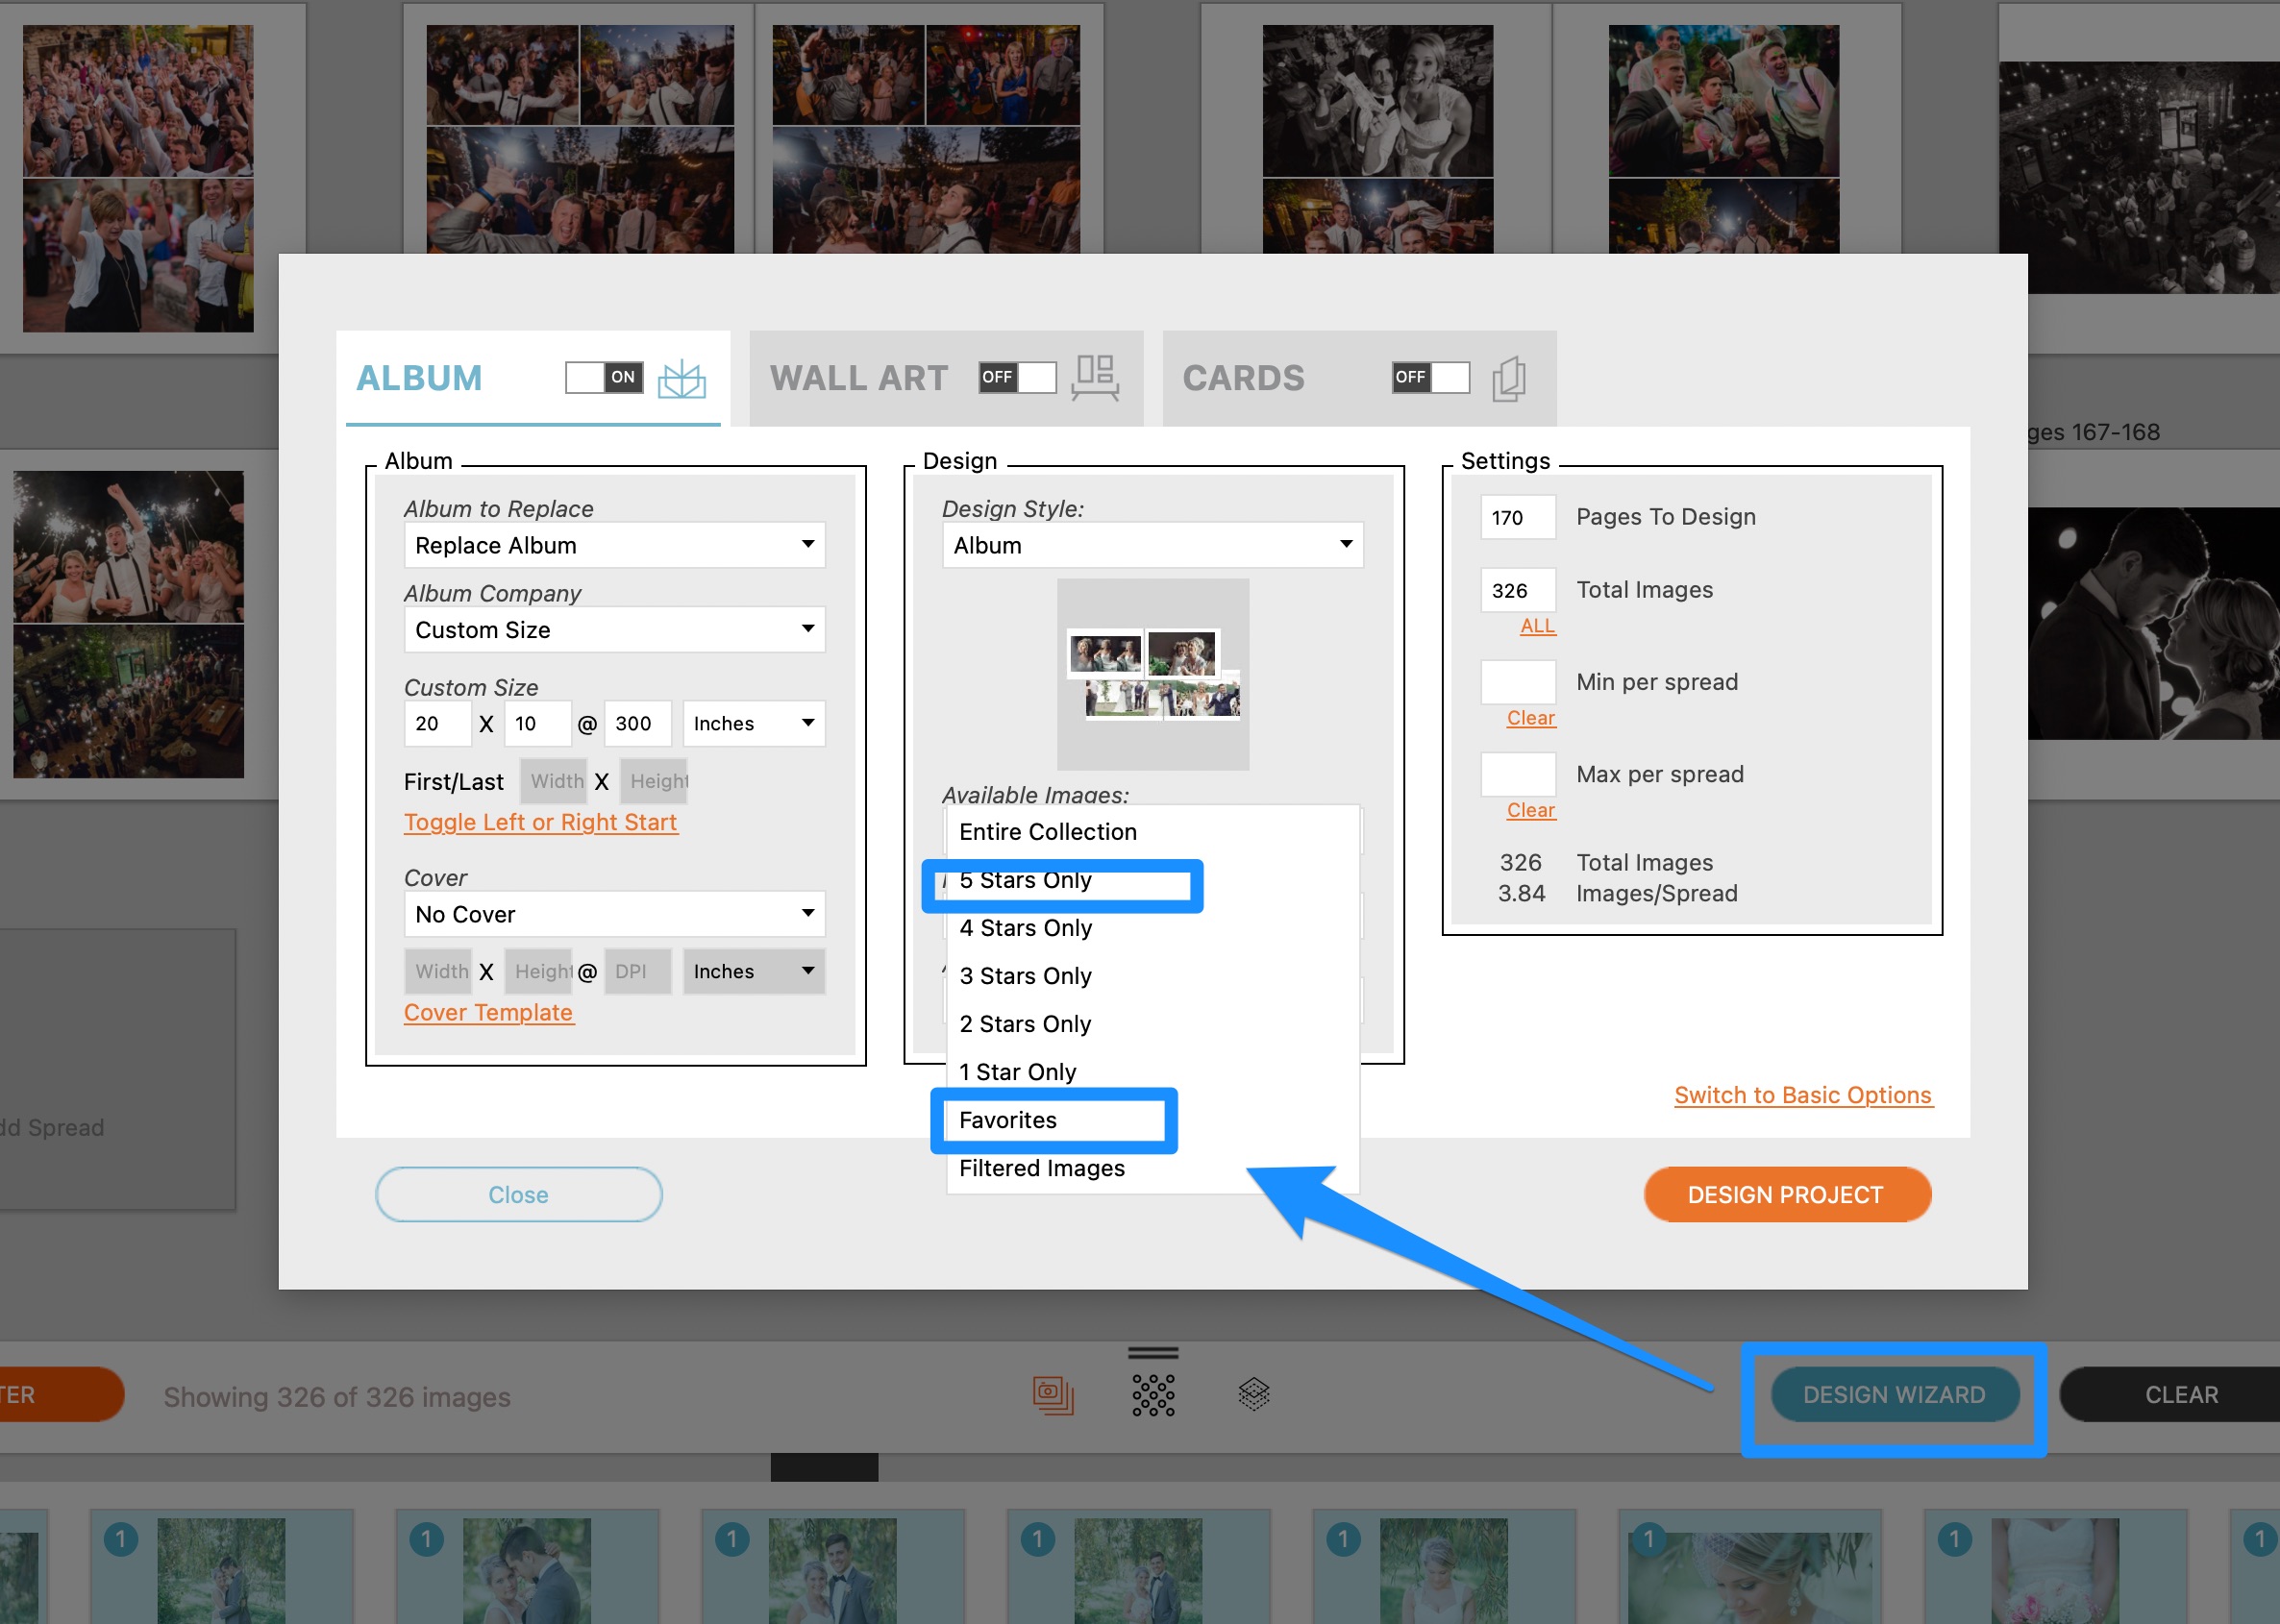
Now, when you choose the Design Wizard, click advanced options and you can choose what images to use in the album design, what images to use for all art, etc.
Prepare a Slideshow
Choose what songs you want to use, what images you want to show and most importantly what designs you want to show. (Pro Tip: Wedding Song 2 = an amazing IPS song)
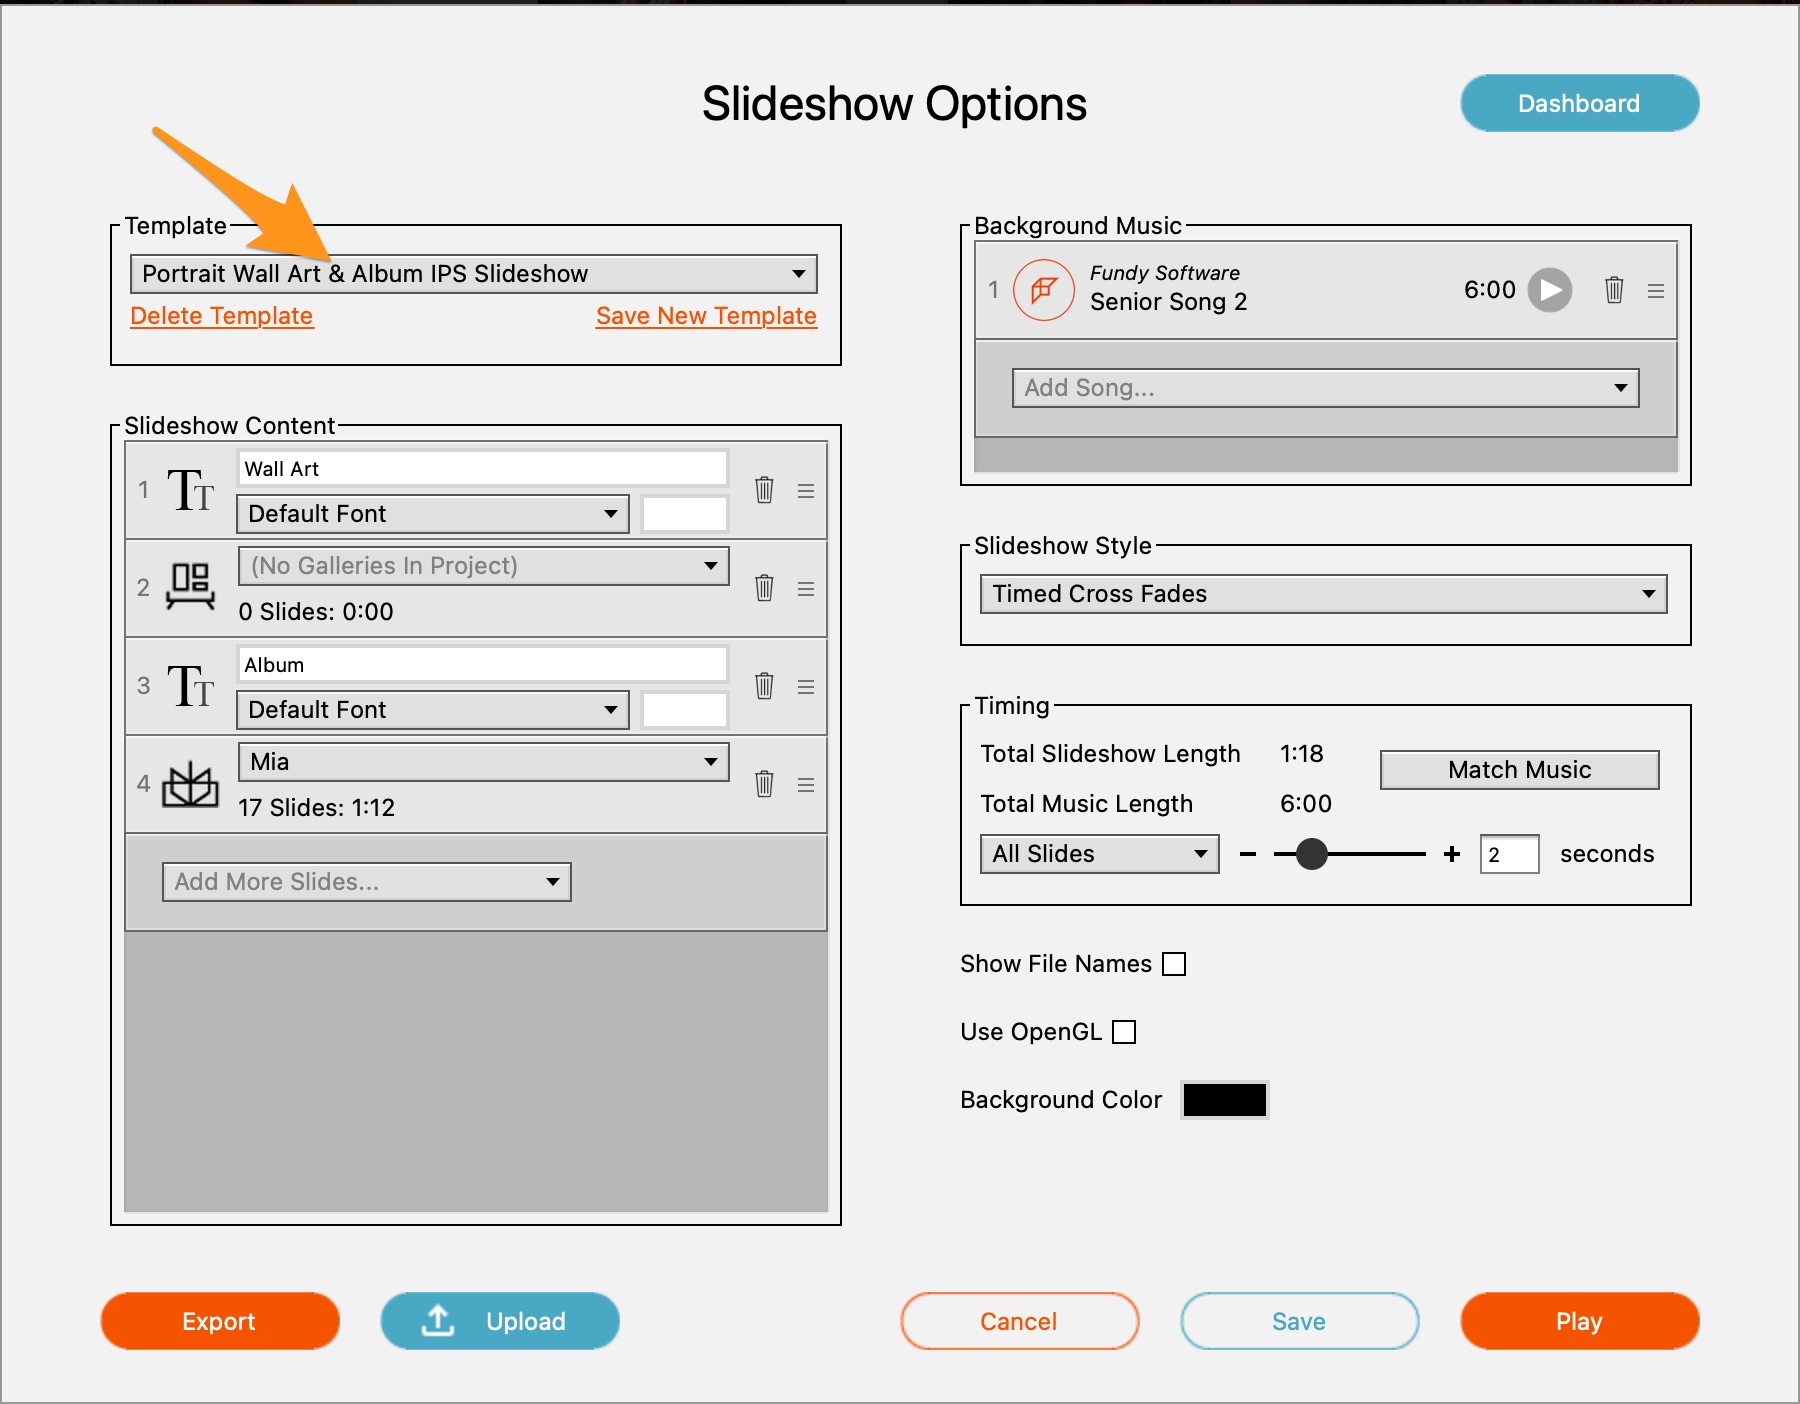
The key in the Fundy Designer slideshow is the ability to show off your designs along with images. For more information on the slideshow – click here.
Learn About the Client Window:
In Fundy Designer we have two windows, the main design window and the client view or image browser window. Play around with this second window. You can access it by clicking on this icon.
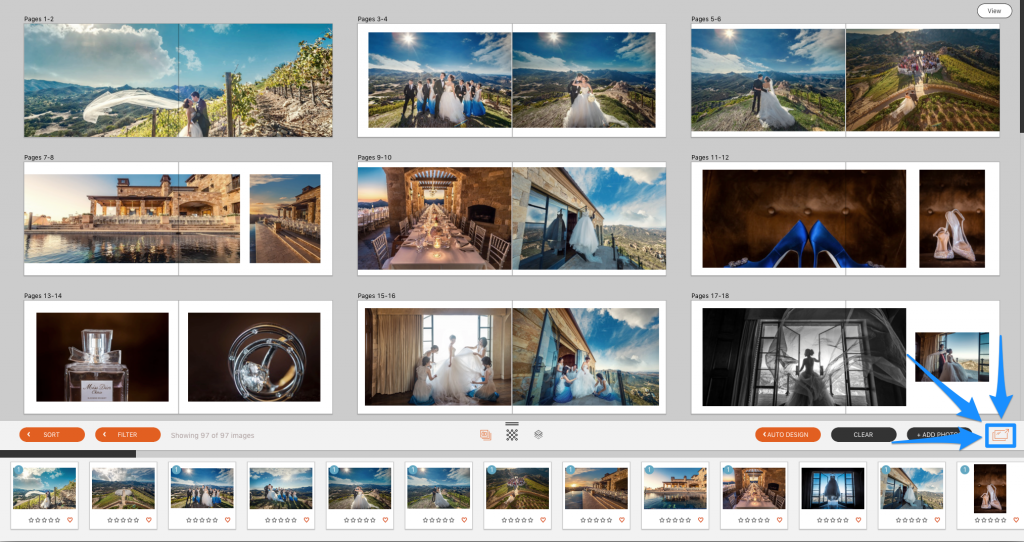
Some photographers choose to move the client window to a second monitor and only show images and designs in this window.
Some photographers choose to just mirror their computer and show both windows. There is no right or wrong answer, choose what works best for you. (Pro tip: if you hit the TAB key you will go into Theater Mode, which hides some of the icons)
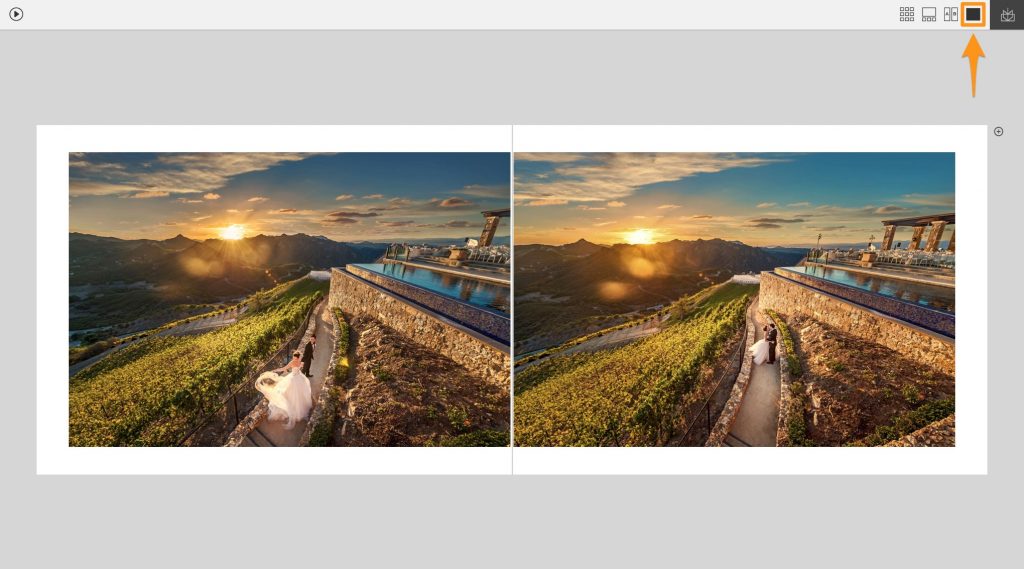
Play the Slideshow:
Next, hit the spacebar to start your slideshow and let it play all of the way through. Hint, if you are using Zoom, choose the “Play computer sound” when you screenshare, that will play your emotional music through their speakers.

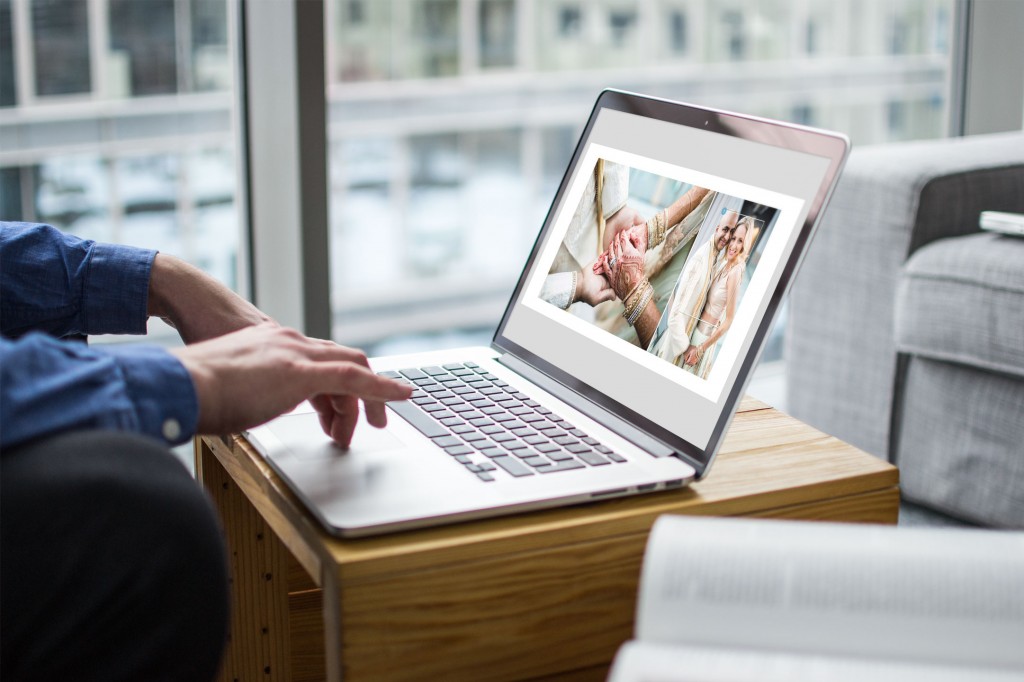
Finalize the Design:
You can work with the clients to finalize their designs. Most photographers live design and make changes right in front of their clients. Even if they are doing the session over zoom.
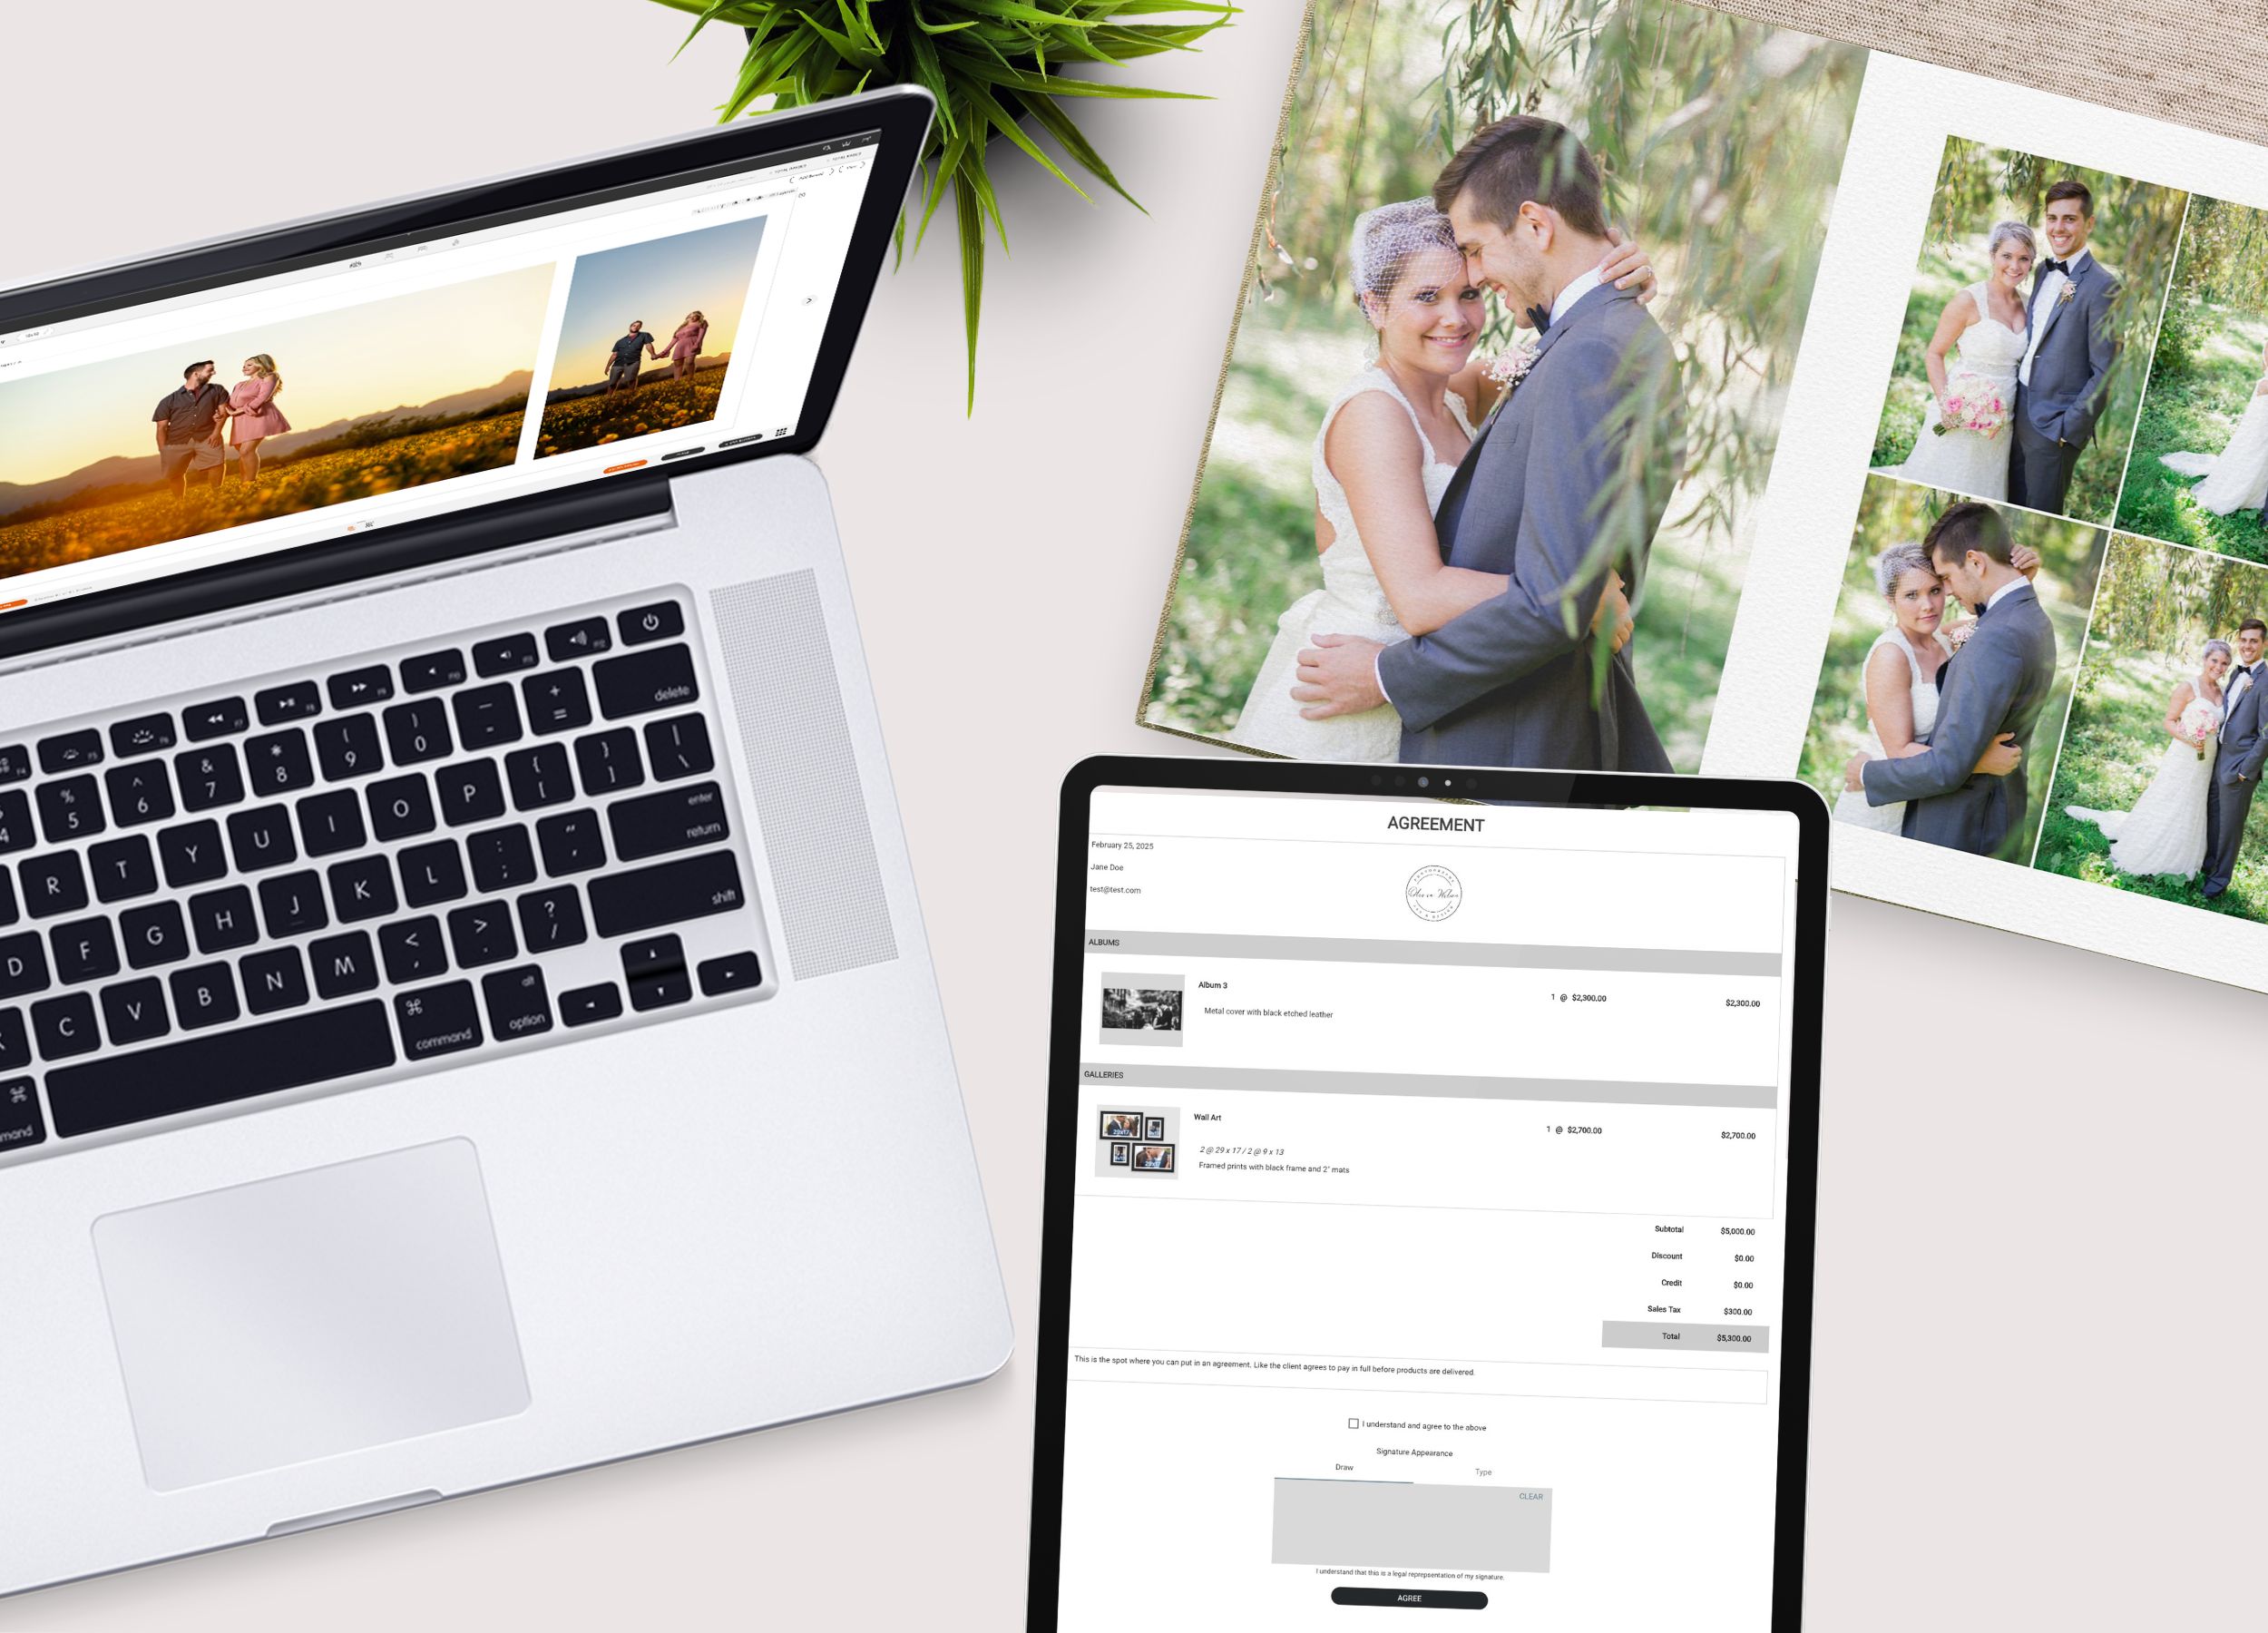
Create an Order:
When clients are ready to order, use the brand new order builder with client agreements built in.
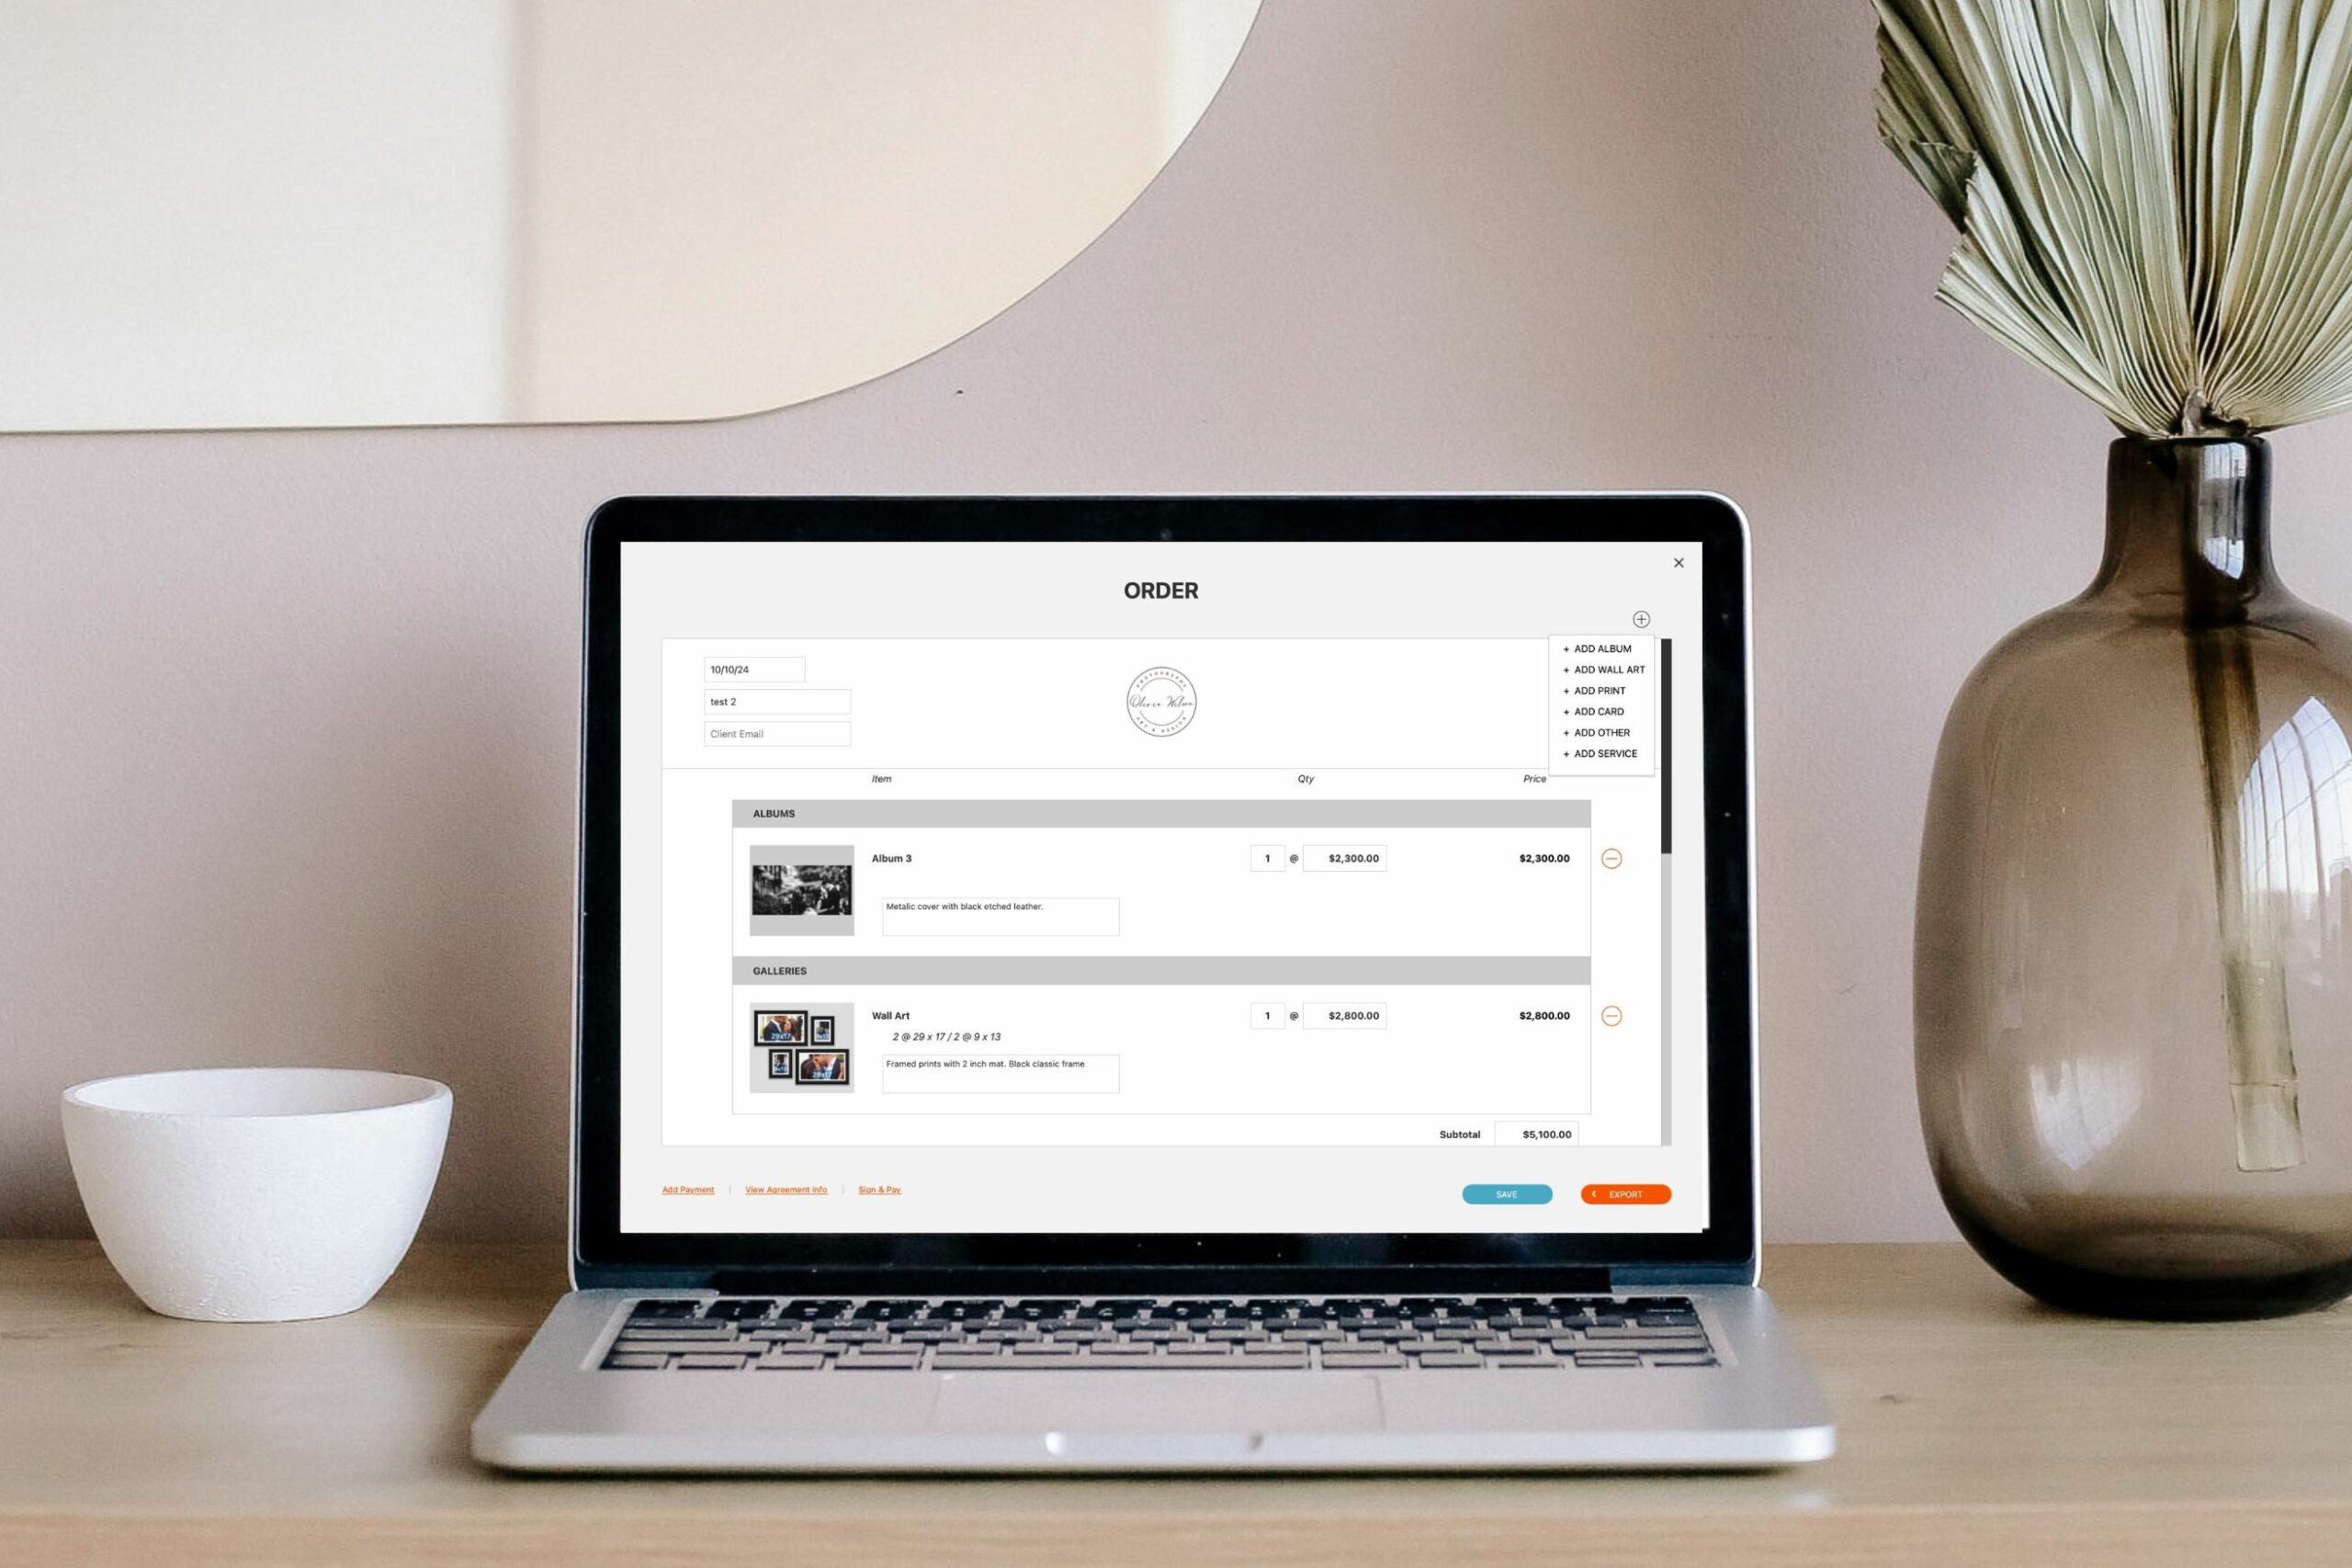
Once you’ve added their album, wall art or more. Click the “Sign” button and they can sign off on their order (and even pay through YOUR Stripe account if you would like.
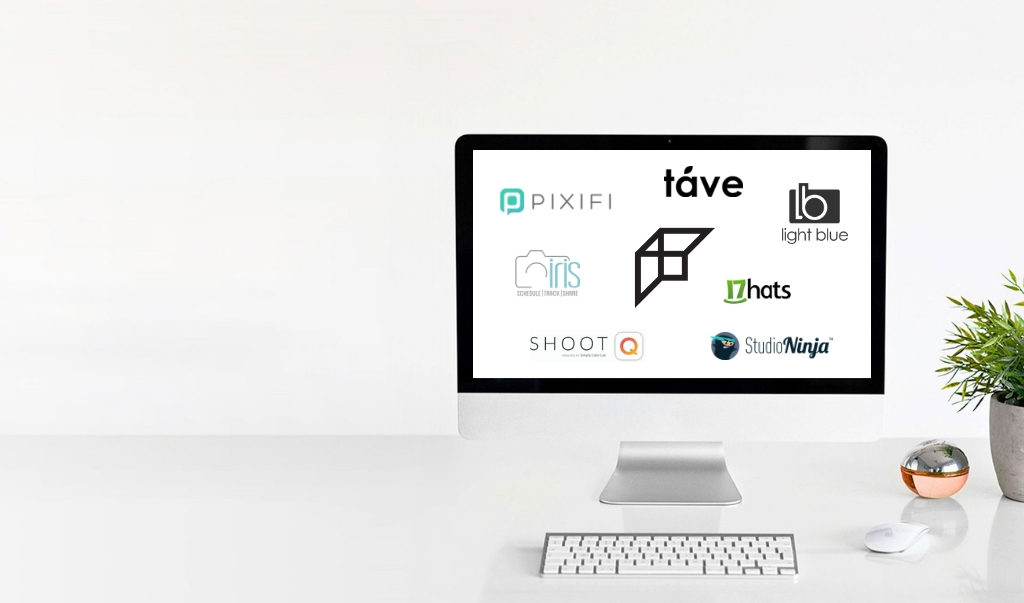
Integrate with Your Favorite Studio Management Software:
Finally, you can export a studio management XML file, that can be imported into popular studio management systems like Tave, Iris Works, Studio Ninja, Pixify, etc.
Do it all in Fundy Designer!
This blog post provides an overview of some of the IPS tools available in Fundy Designer. This knowledge will help you maximize the potential of your photography. For more details, be sure to watch our video tutorials and read our manuals. Whether you need to design an album in a hurry, create wall art for big sales, or craft engaging social media content, Fundy Designer has your back. With all these features, including slideshows and IPS tools, available for one low price, it’s worth asking: Is this the best deal in the entire photography industry? What other product helps people earn an extra $50k+ a year?
New to Fundy Designer? Get started with our free trial! Ready to try the latest version of Fundy Designer? Click here to purchase, lease, or upgrade to Fundy Designer v11!